Body Session 20: Passenger door poles and doors reinstalled
Body Session 20: Passenger door poles and doors reinstalled
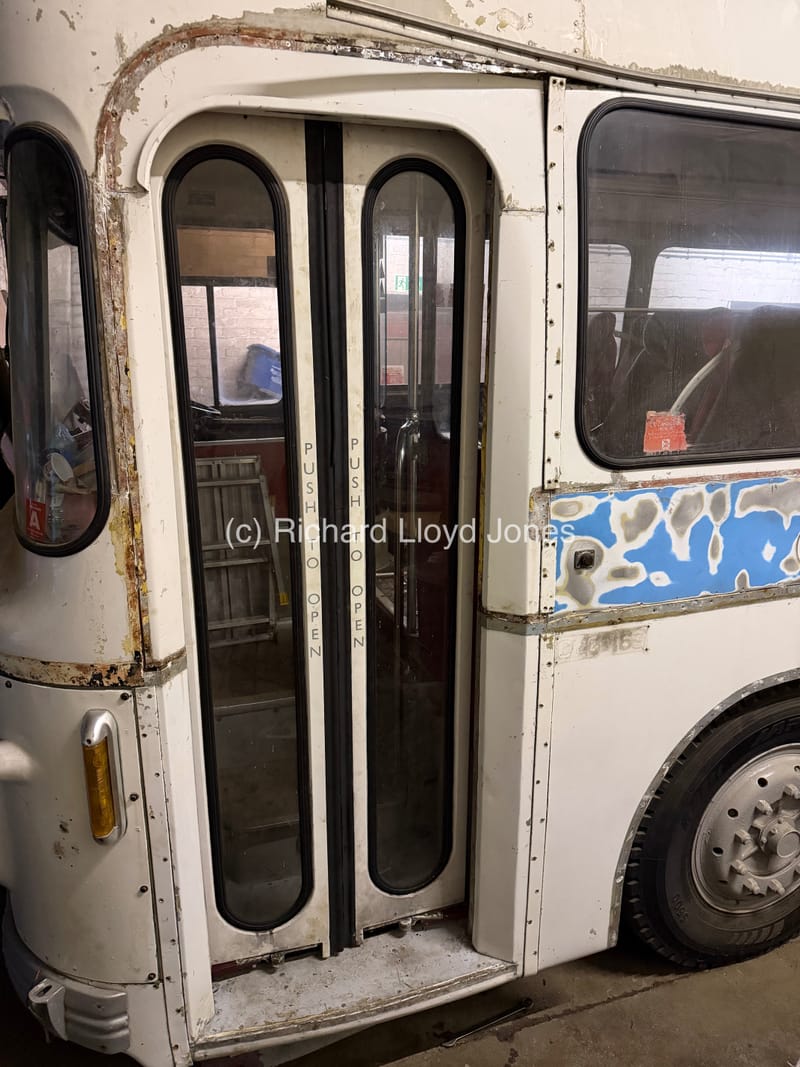
Today the treated and painted passenger door poles and doors are placed back in place.
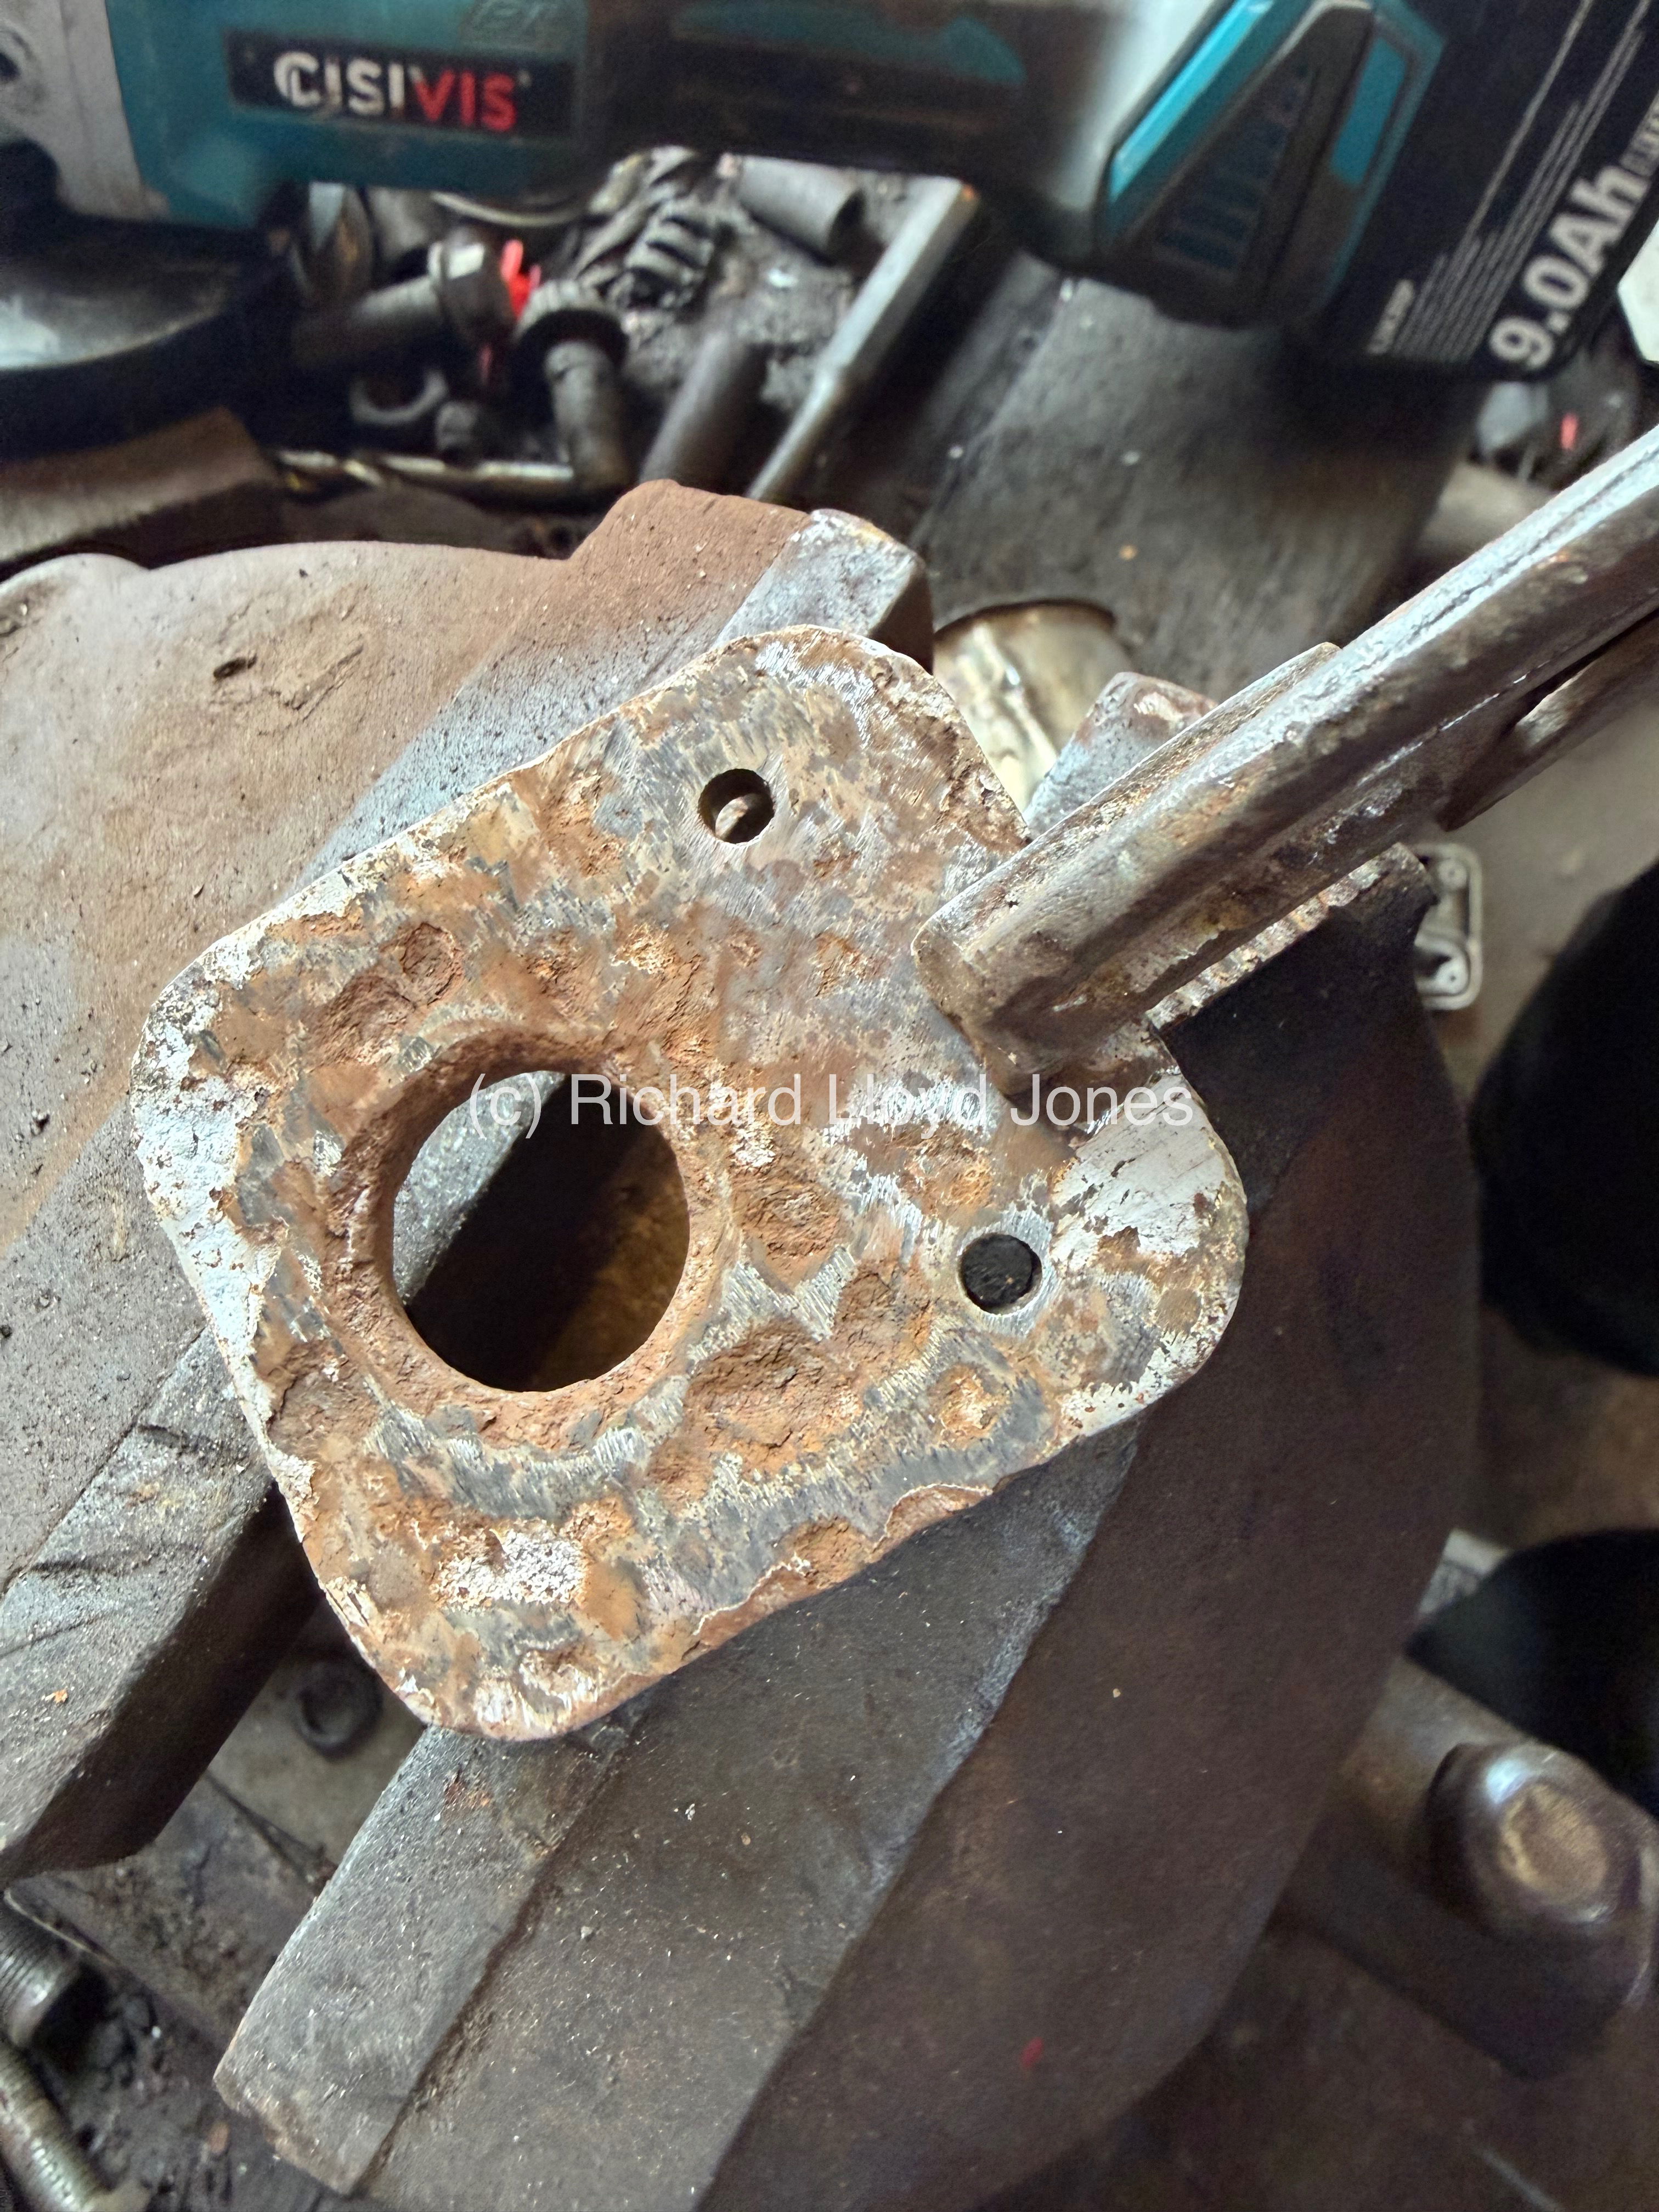 Our starting point was to remove the corroded screws from the bracket sections of the passenger door poles that hold and support the actual doors in place to the newly rebuilt passenger entrance first step. They have been in place for 56 years by now so this took some time to remove.
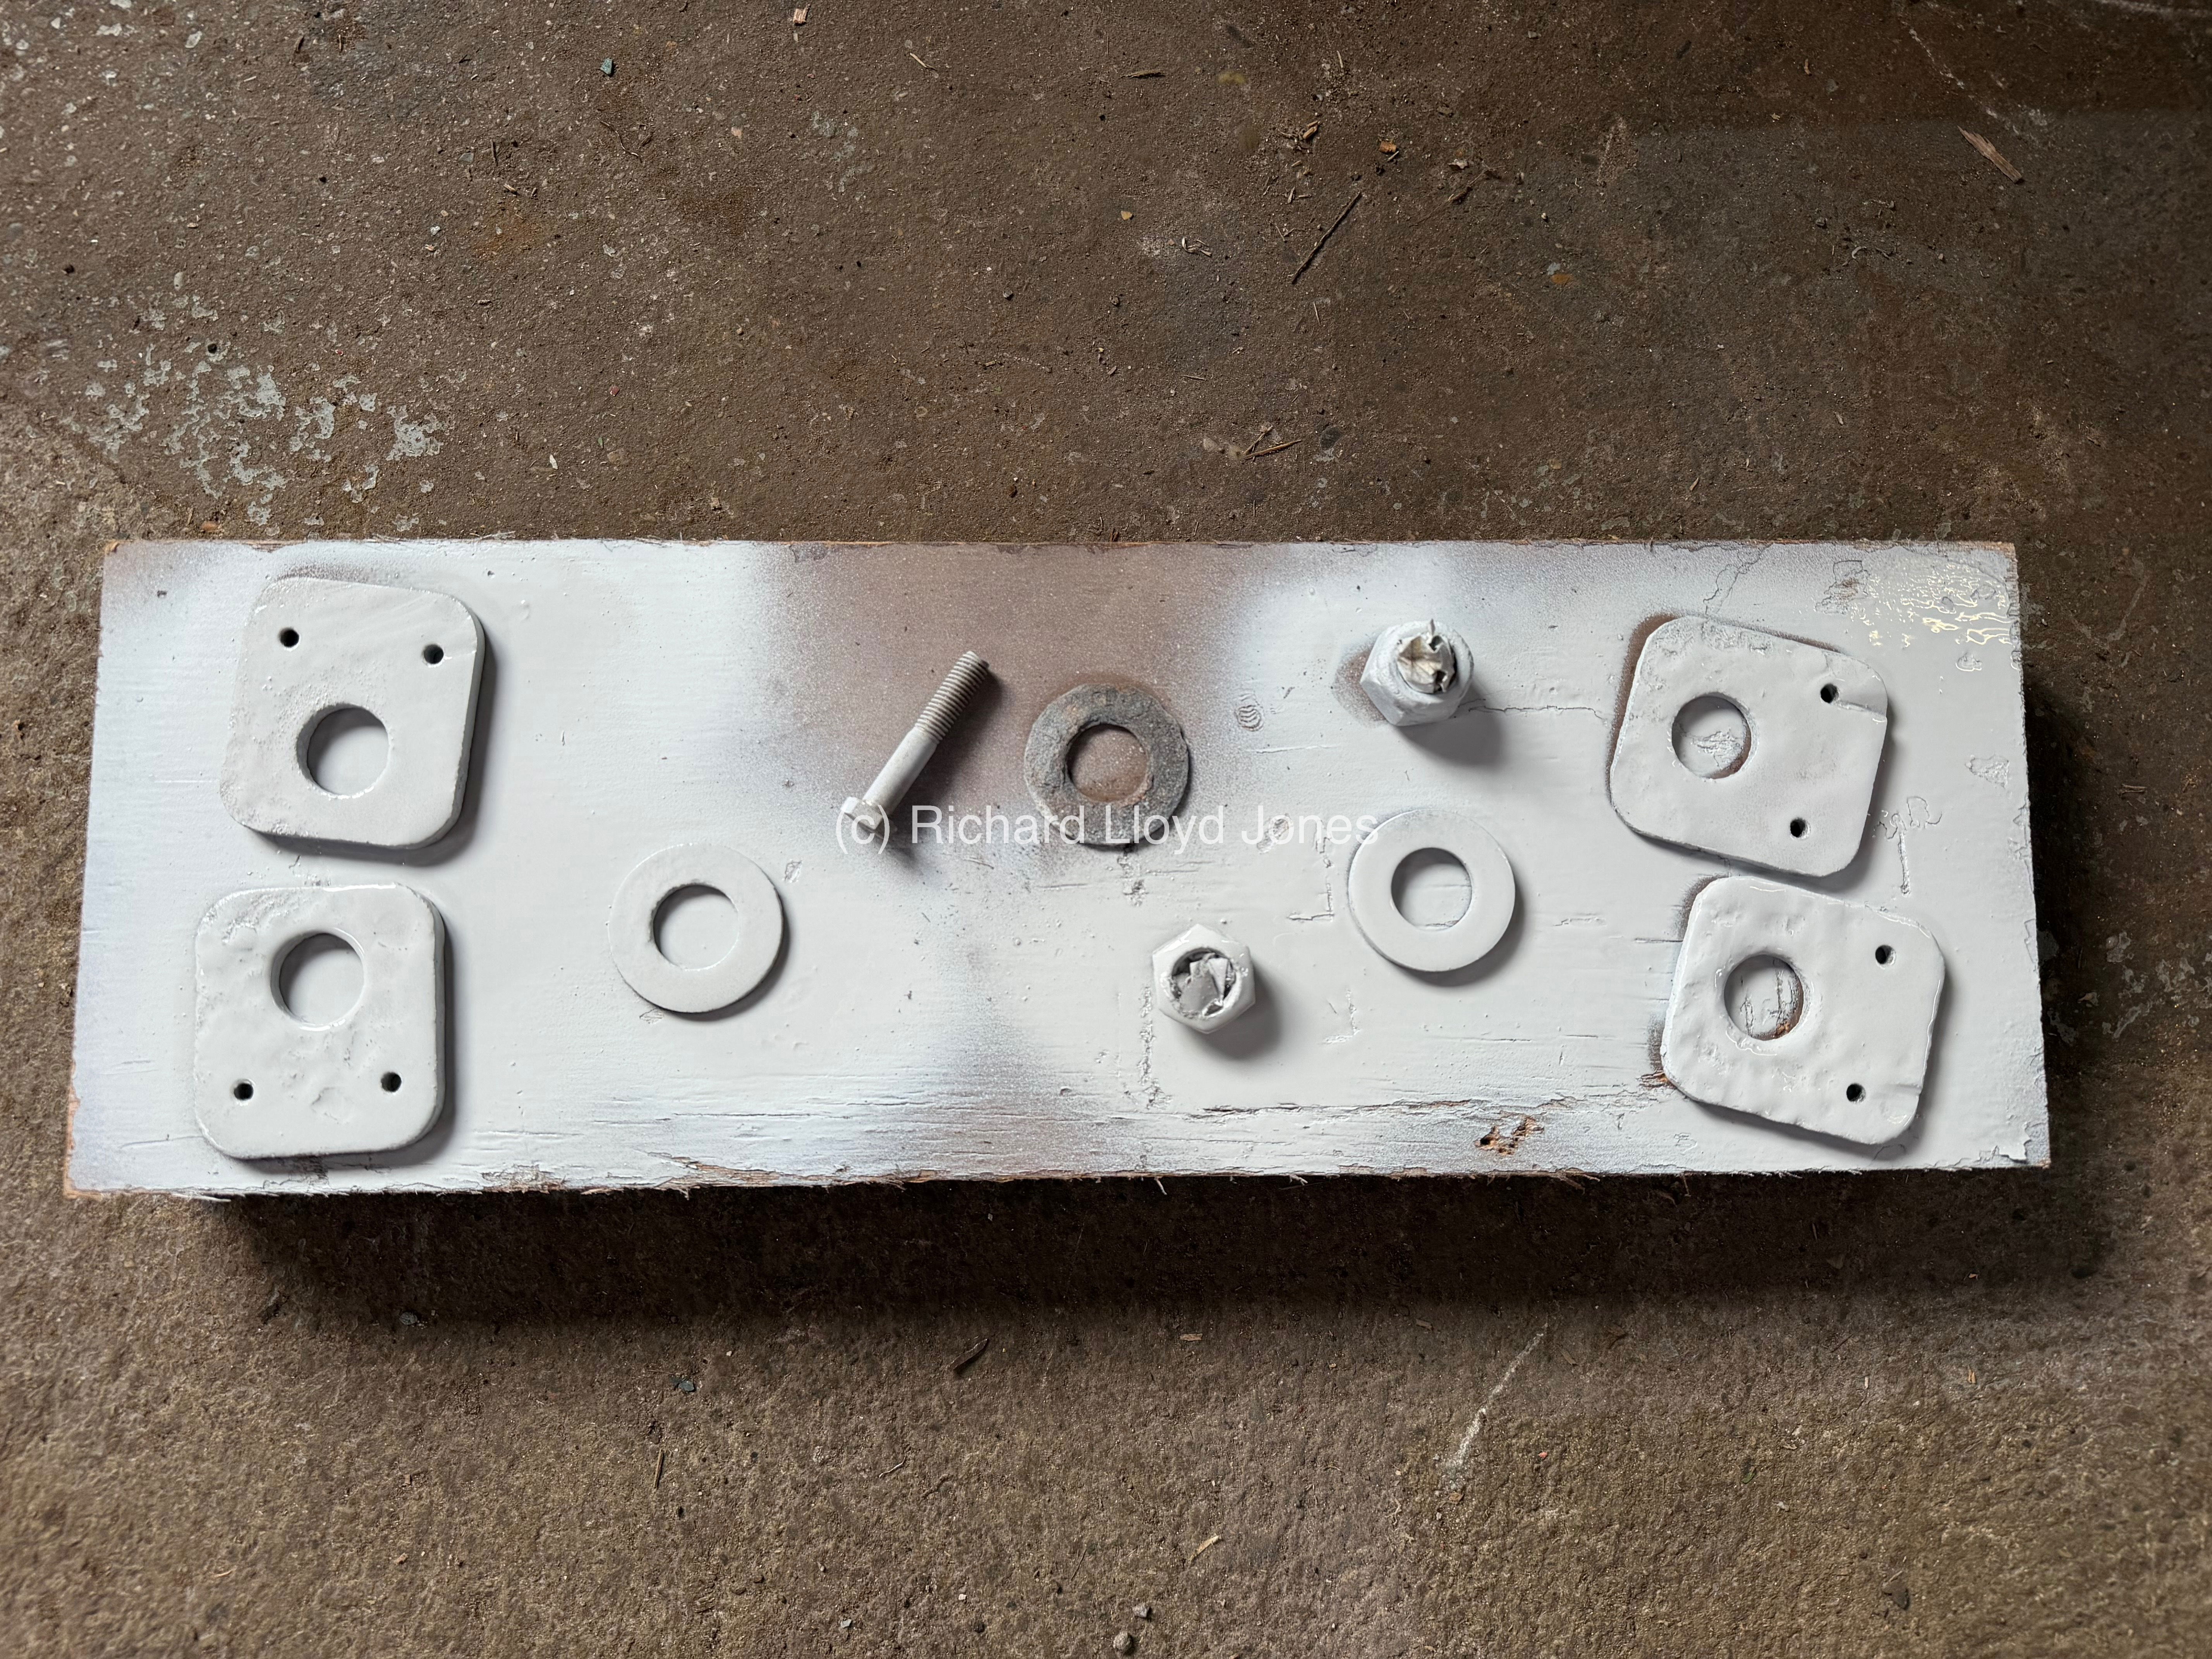 Passenger door pole brackets and steel washers (including one new) sanded down and painted. Just waiting for this to dry before we re-assemble everything.
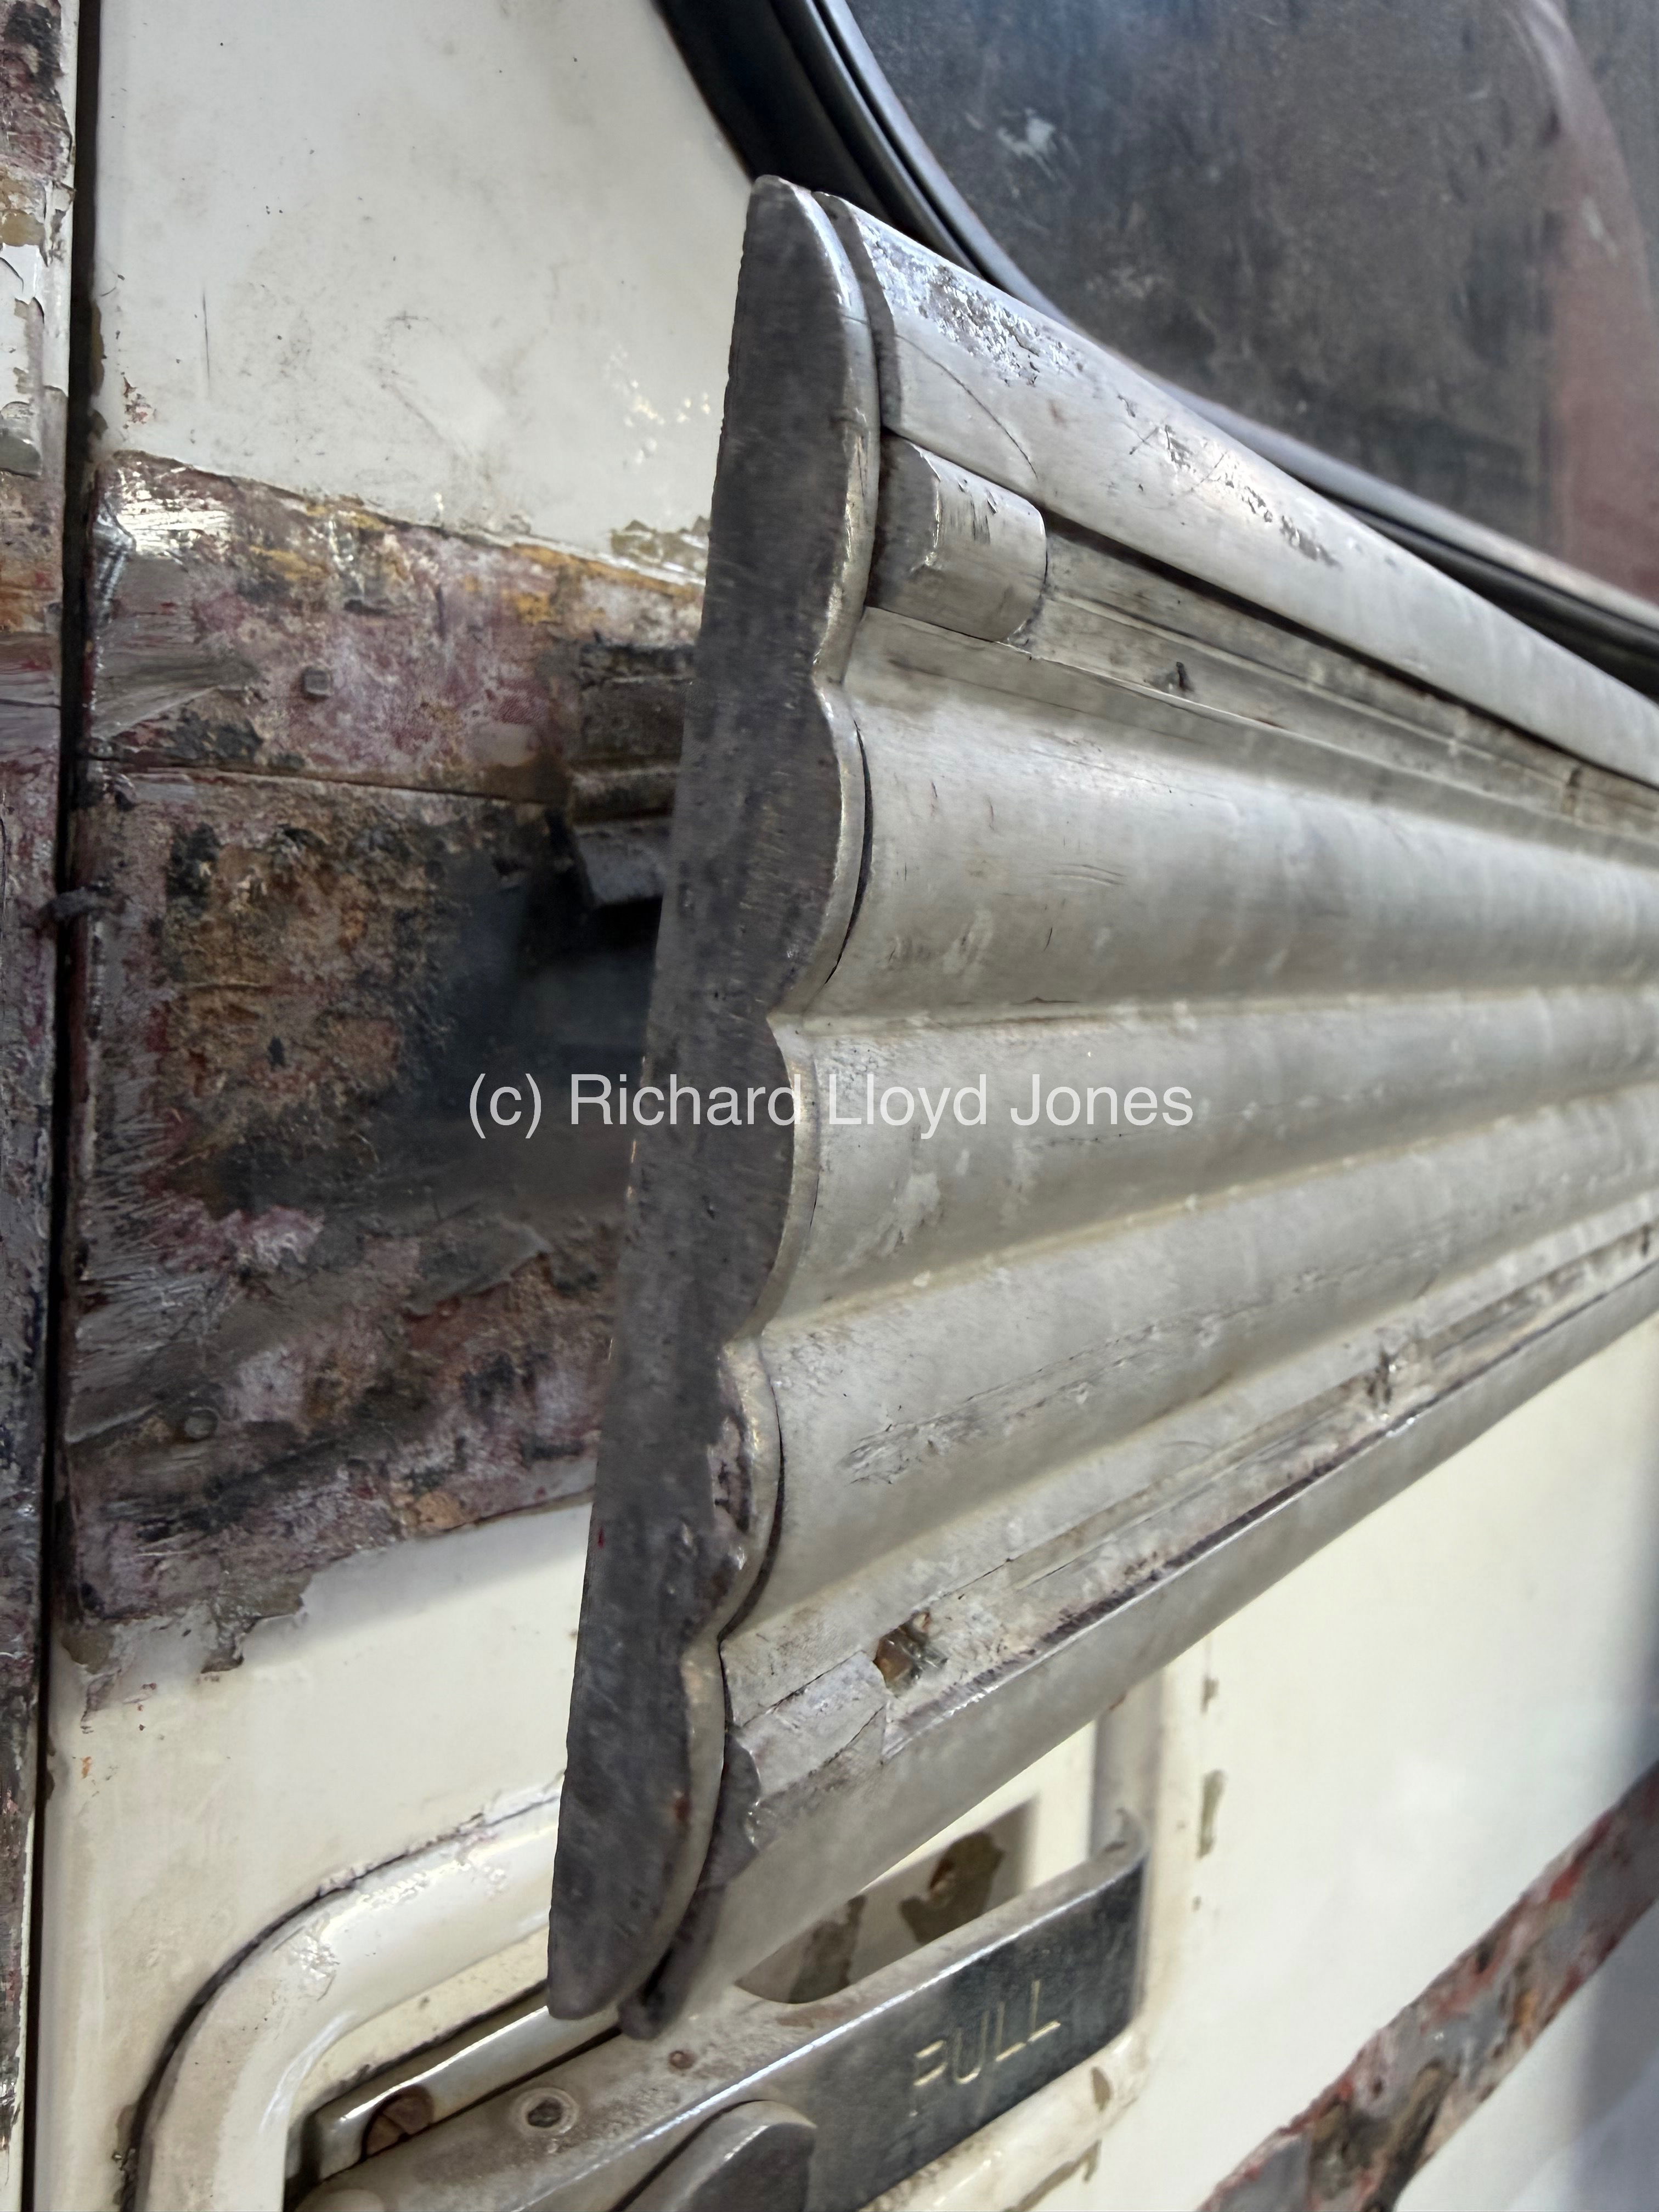 As the passenger door pole brackets and steel washers dry from treatment we turn to removing the final bright work pieces from CRG163 which sits on the offside rear emergency door.
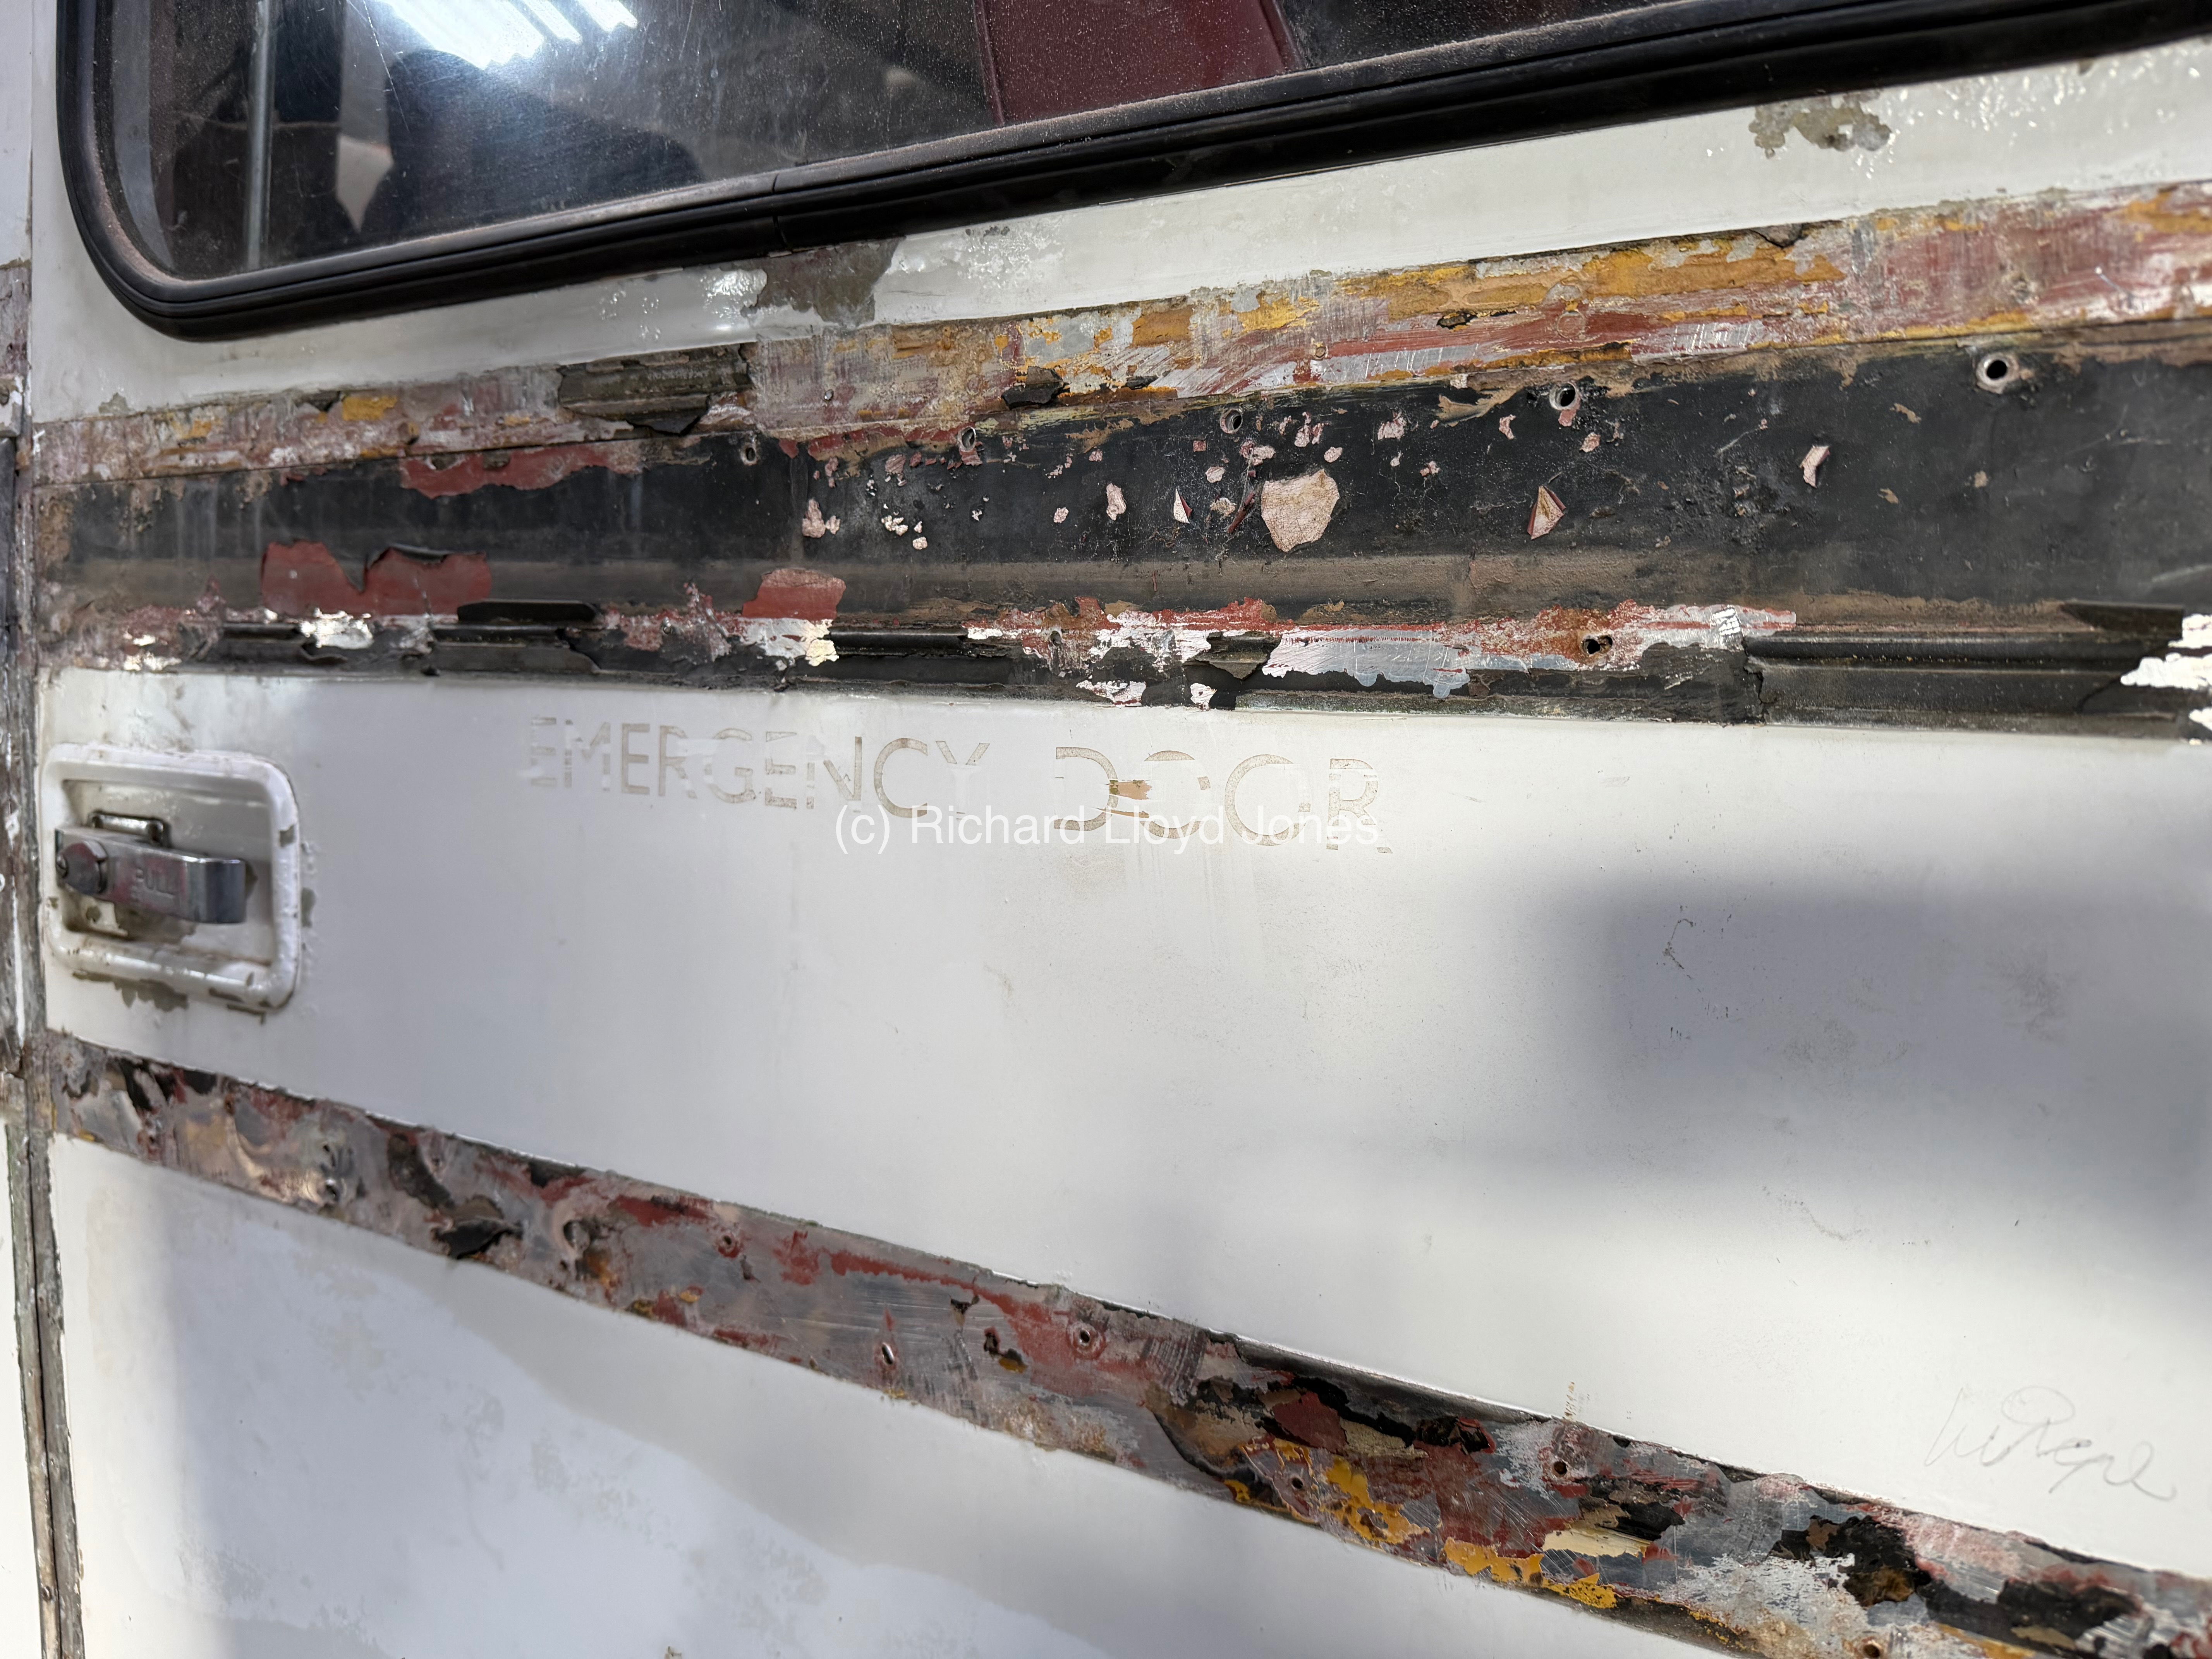 An image of the offside rear emergency door with bright work removed. Thankfully from investigation there is no wooden section within the emergency door bar aluminium as otherwise we would have had to open the door skin to repair.
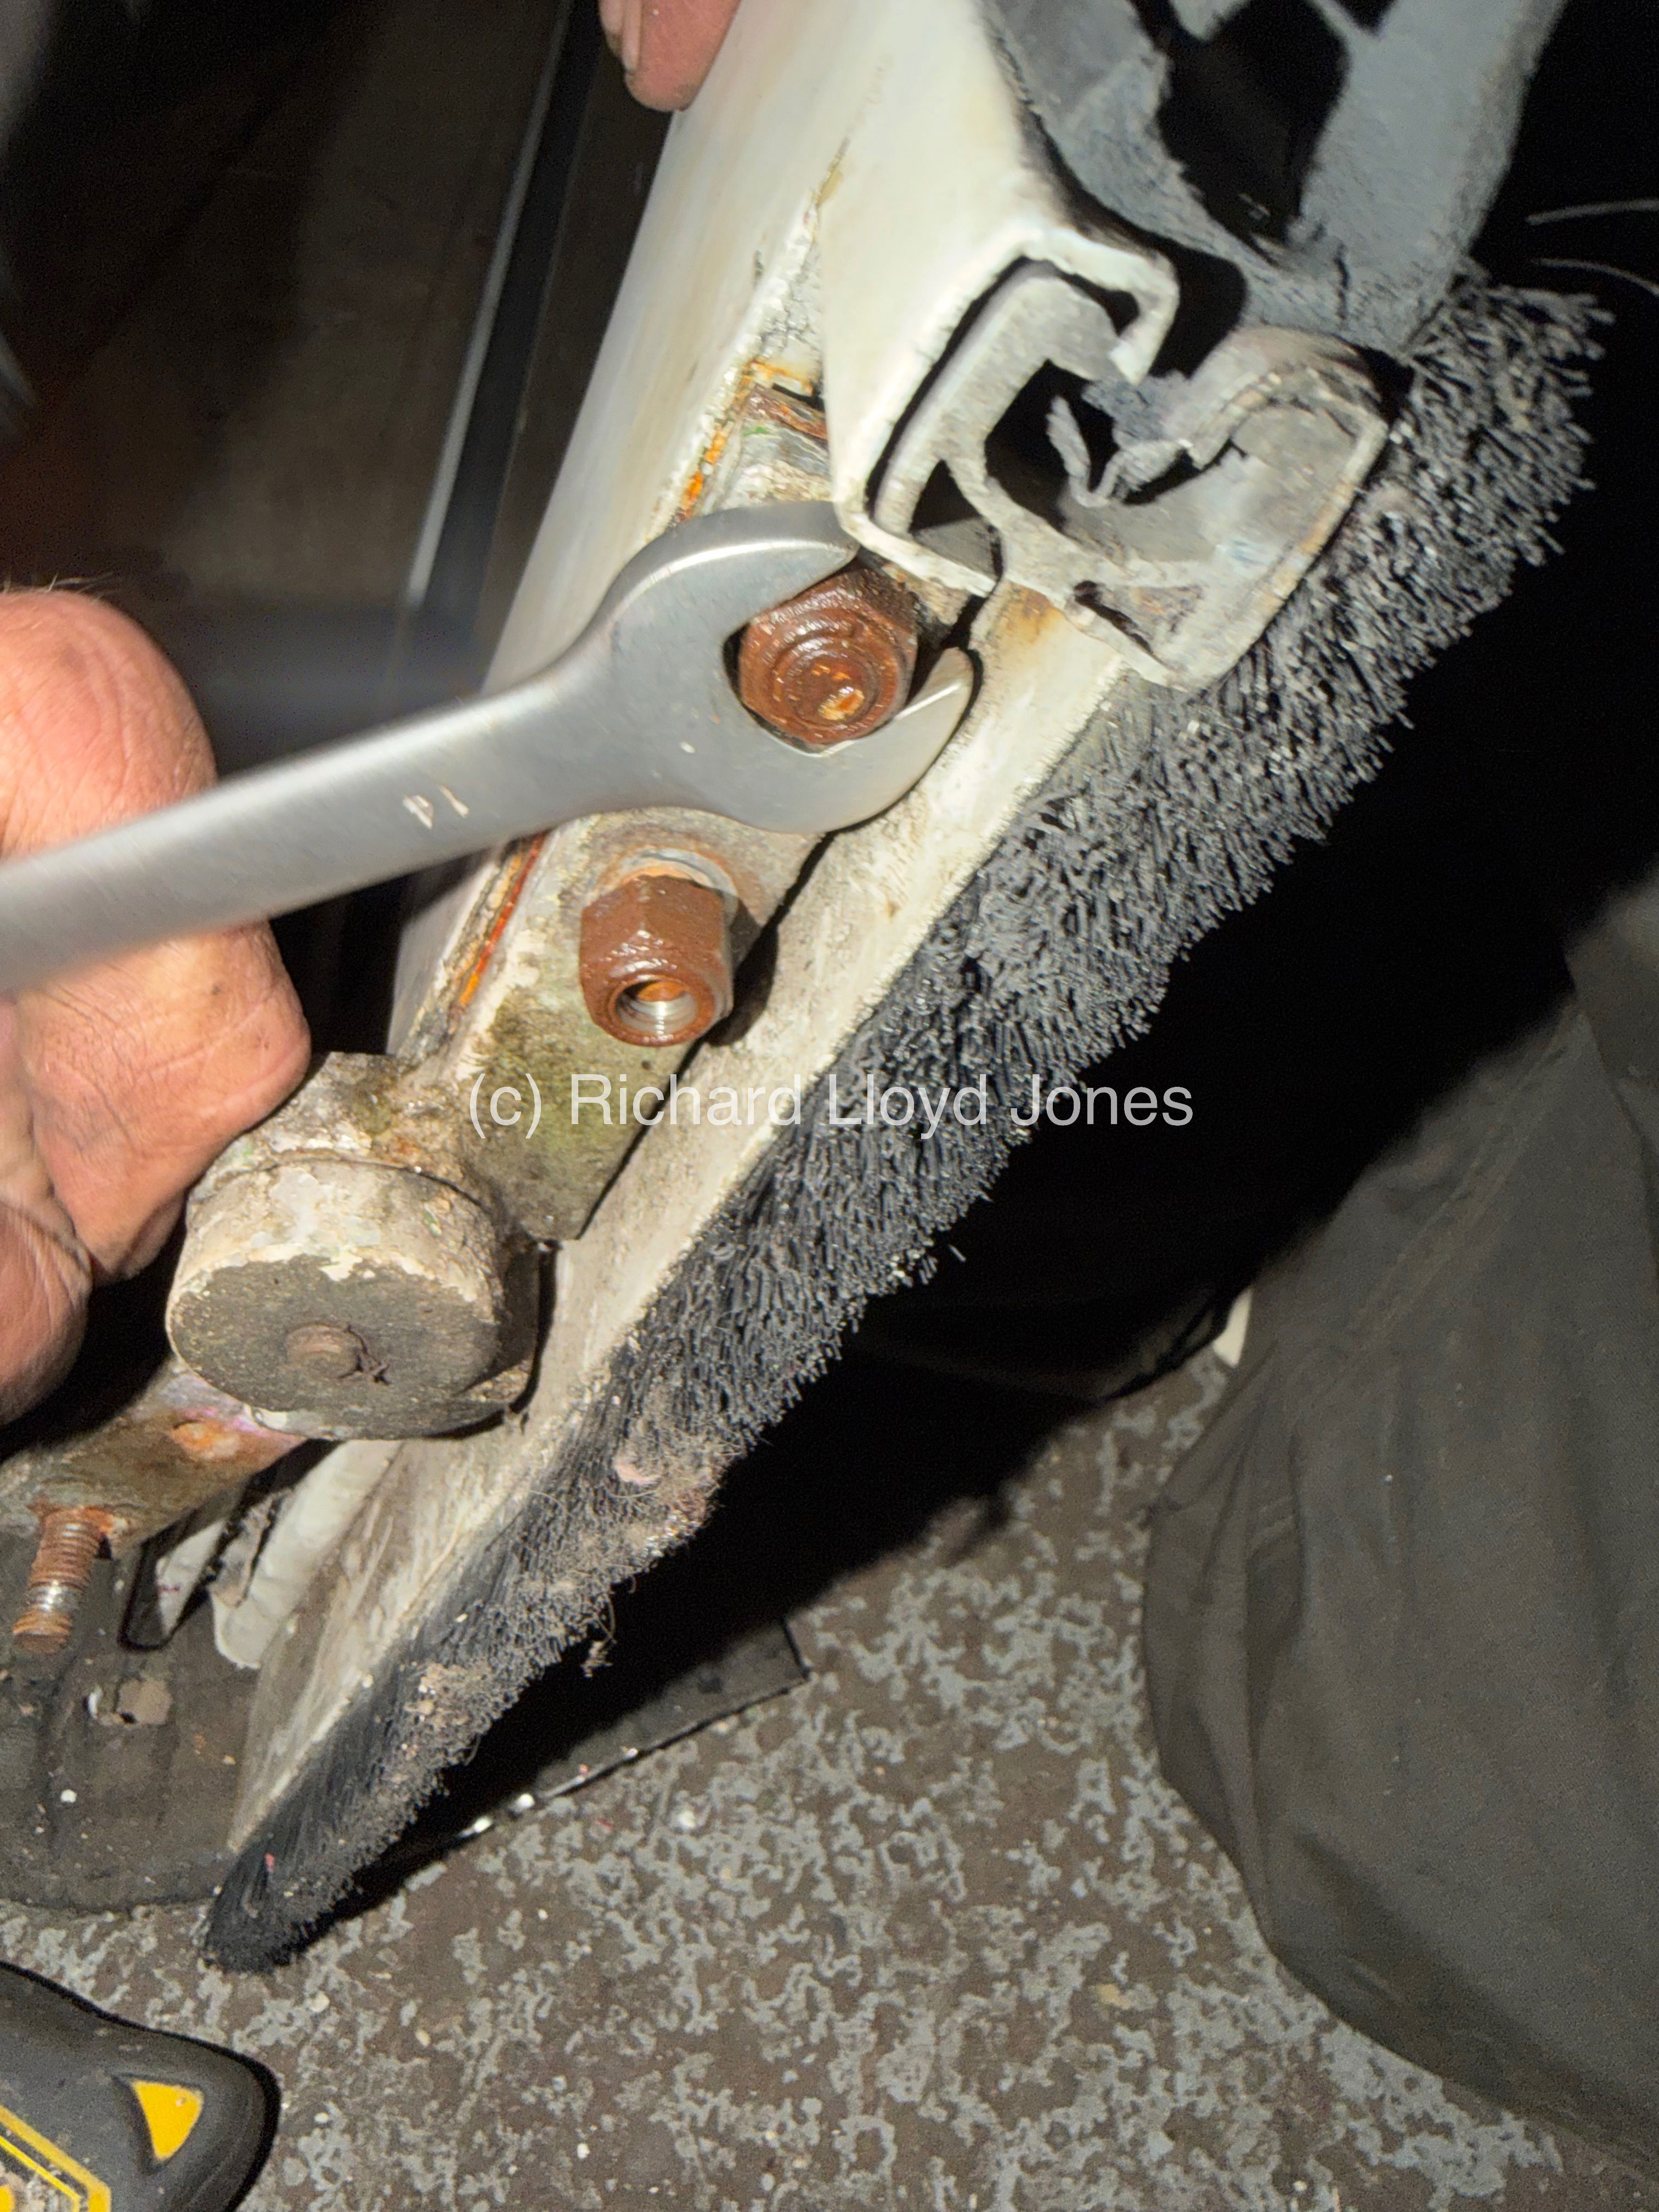
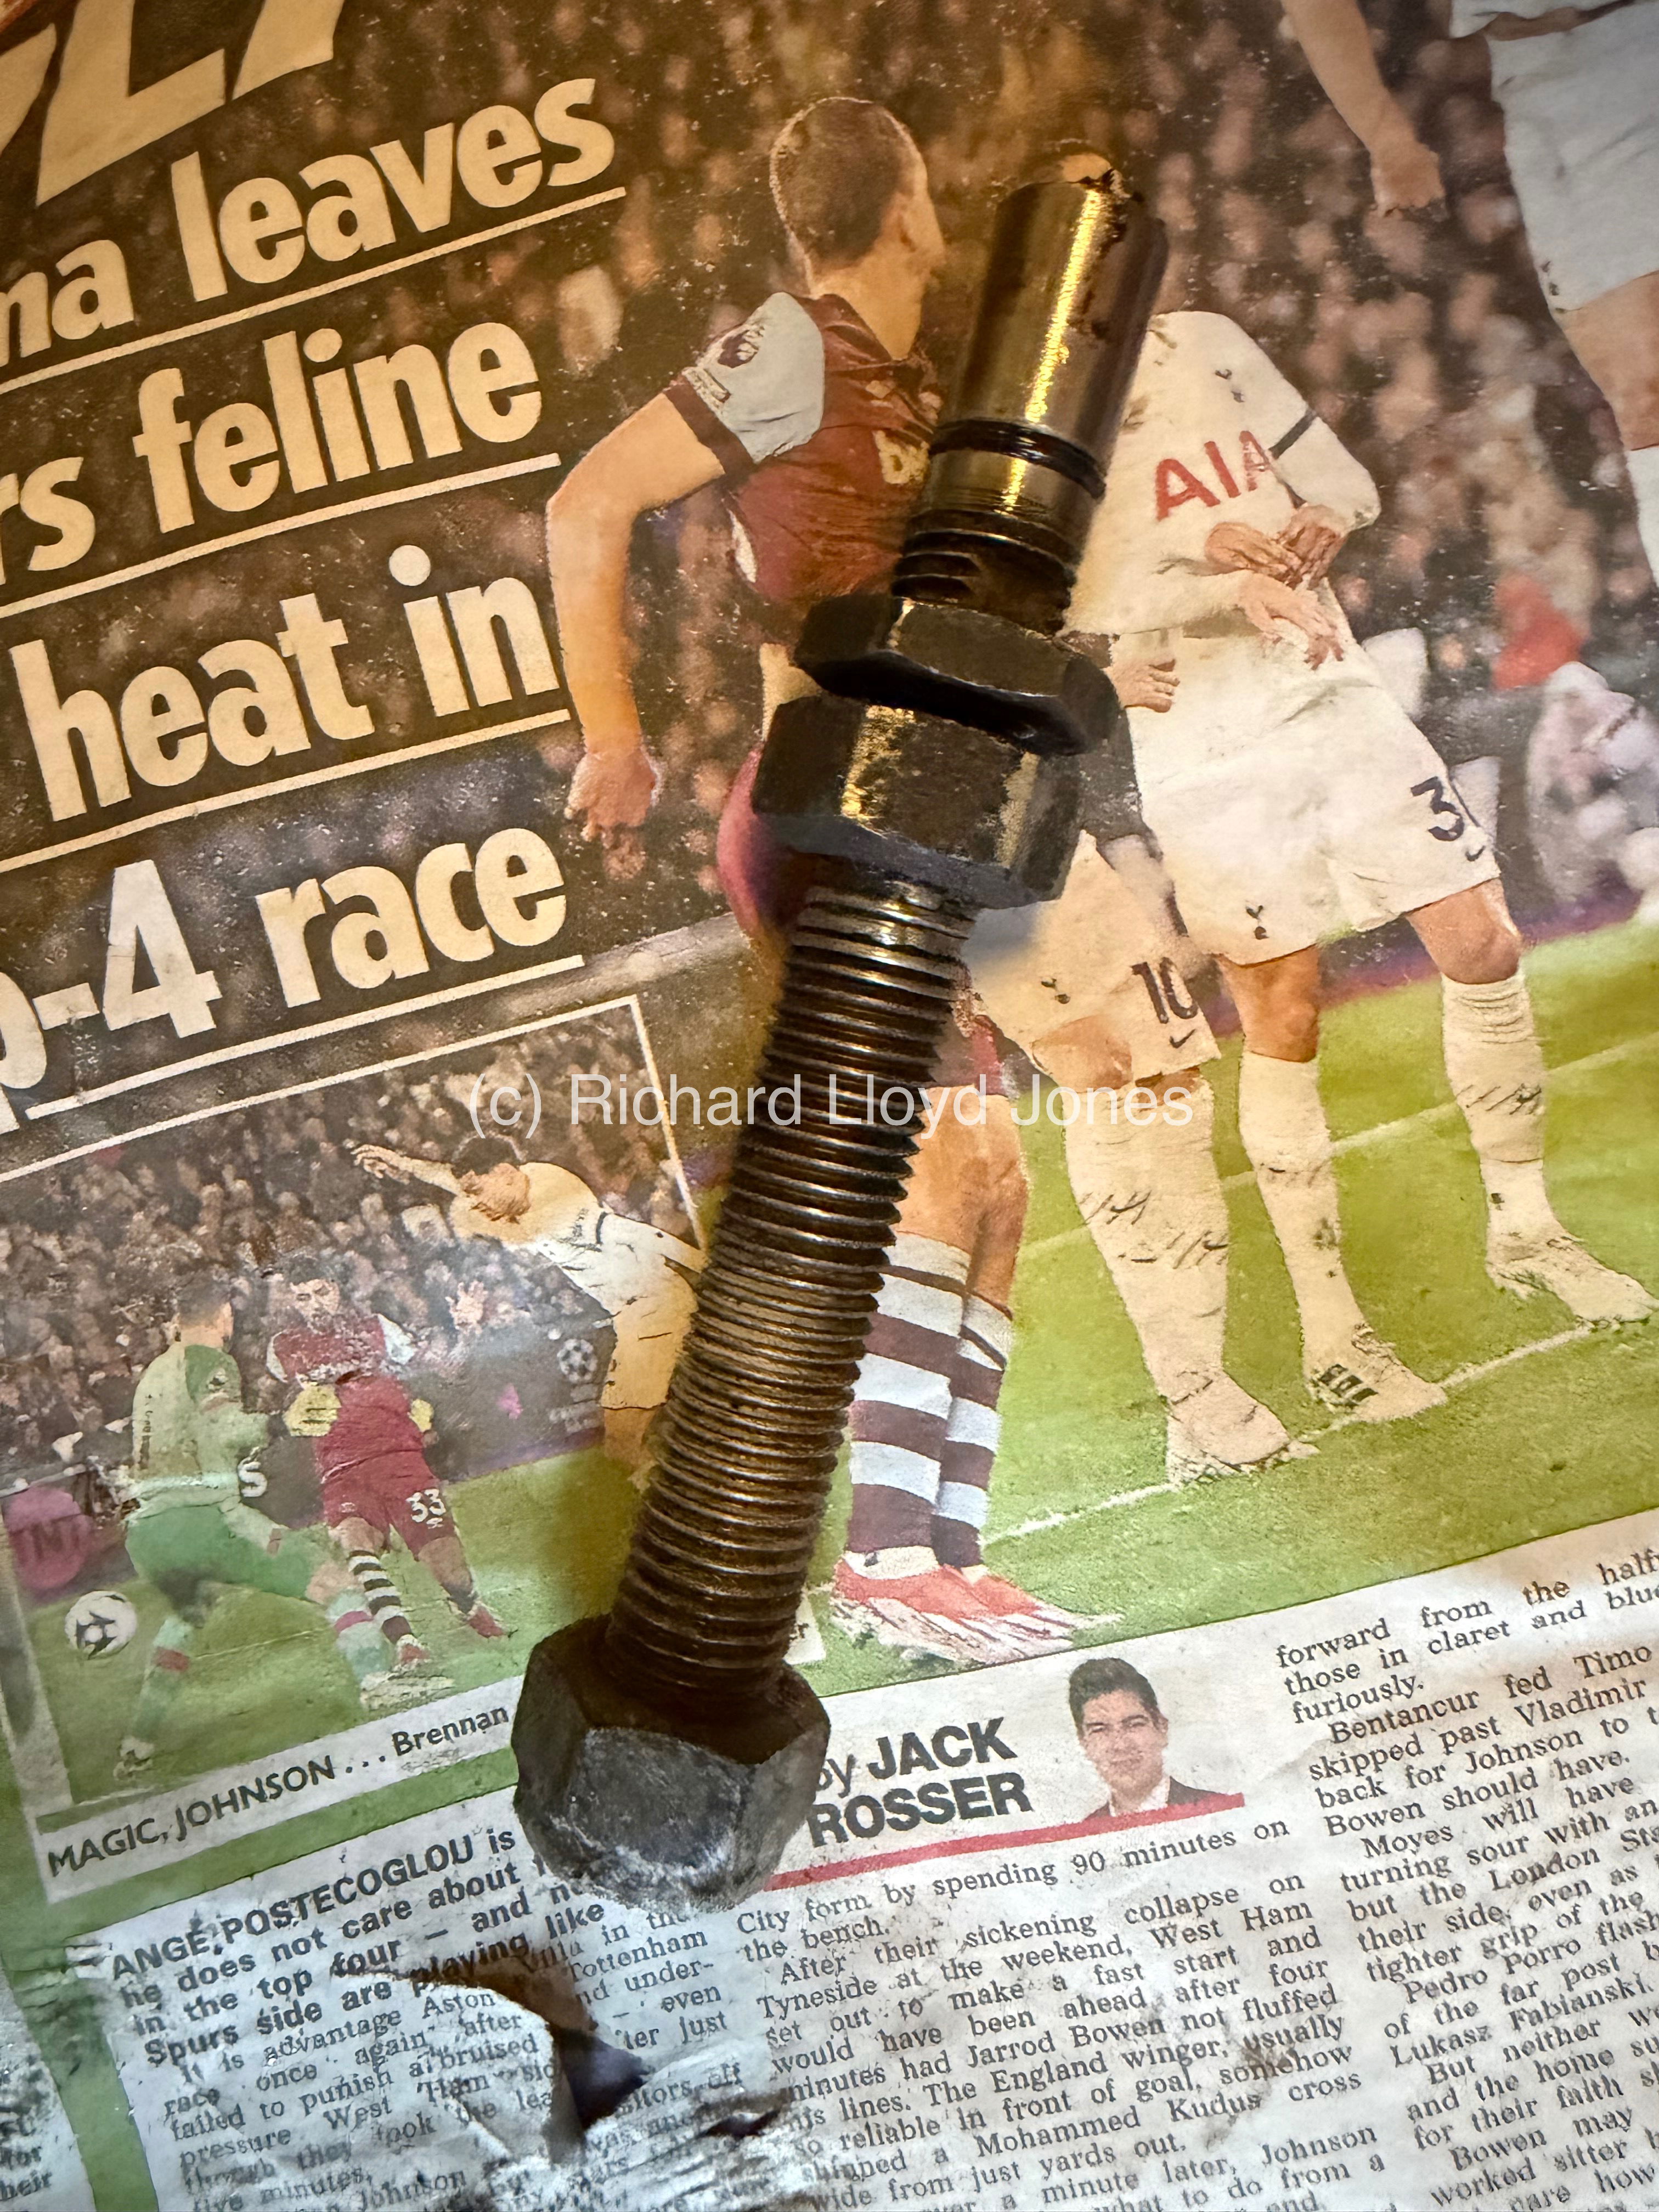 Hours are taken to remove the nuts around the large screw shaft bolt underneath one of the passenger doors. Heat is added to expand and then strike the nuts for movement. These are very important in the final housing and final vertical adjustment of the passenger entrance express door. Diolch yn fawr iawn Aled a Dewi unwaith eto am y cymorth arferol y cafwyd! / Thank you again Aled and Dewi for the valuable support as always!
 One of the passenger door poles is reassembled into place.
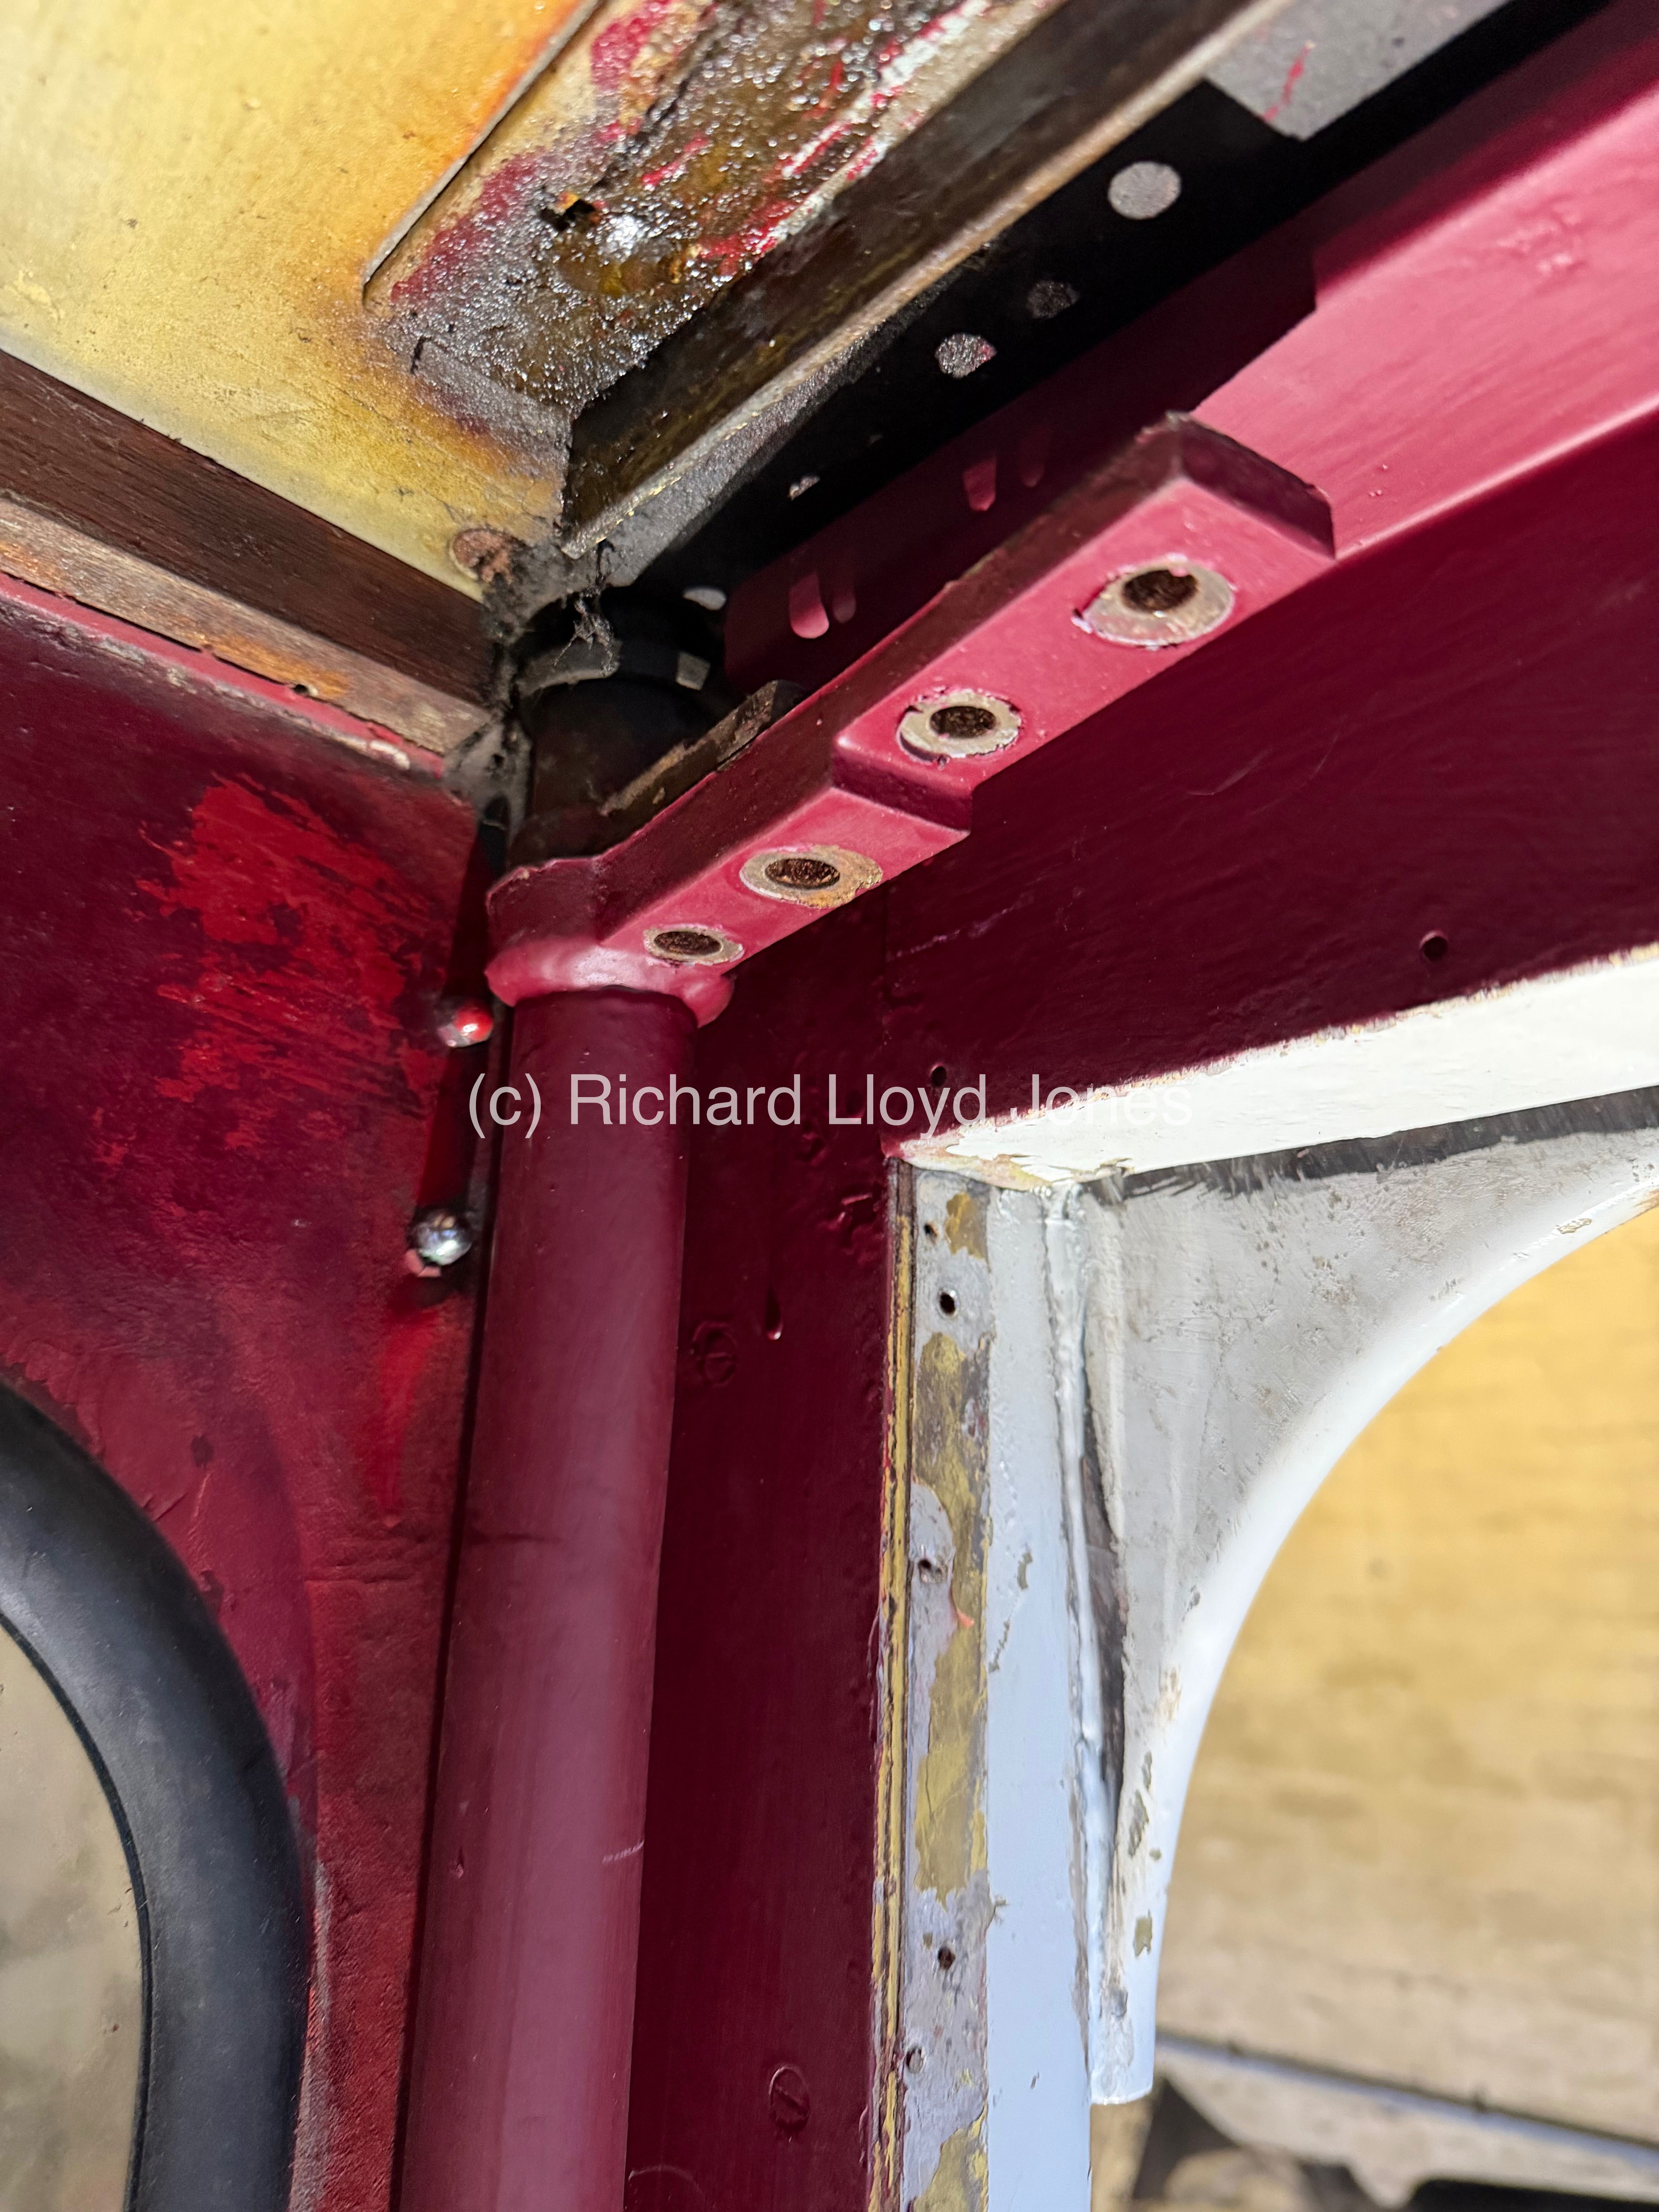 This is an image of the top of the second passenger door pole in place.
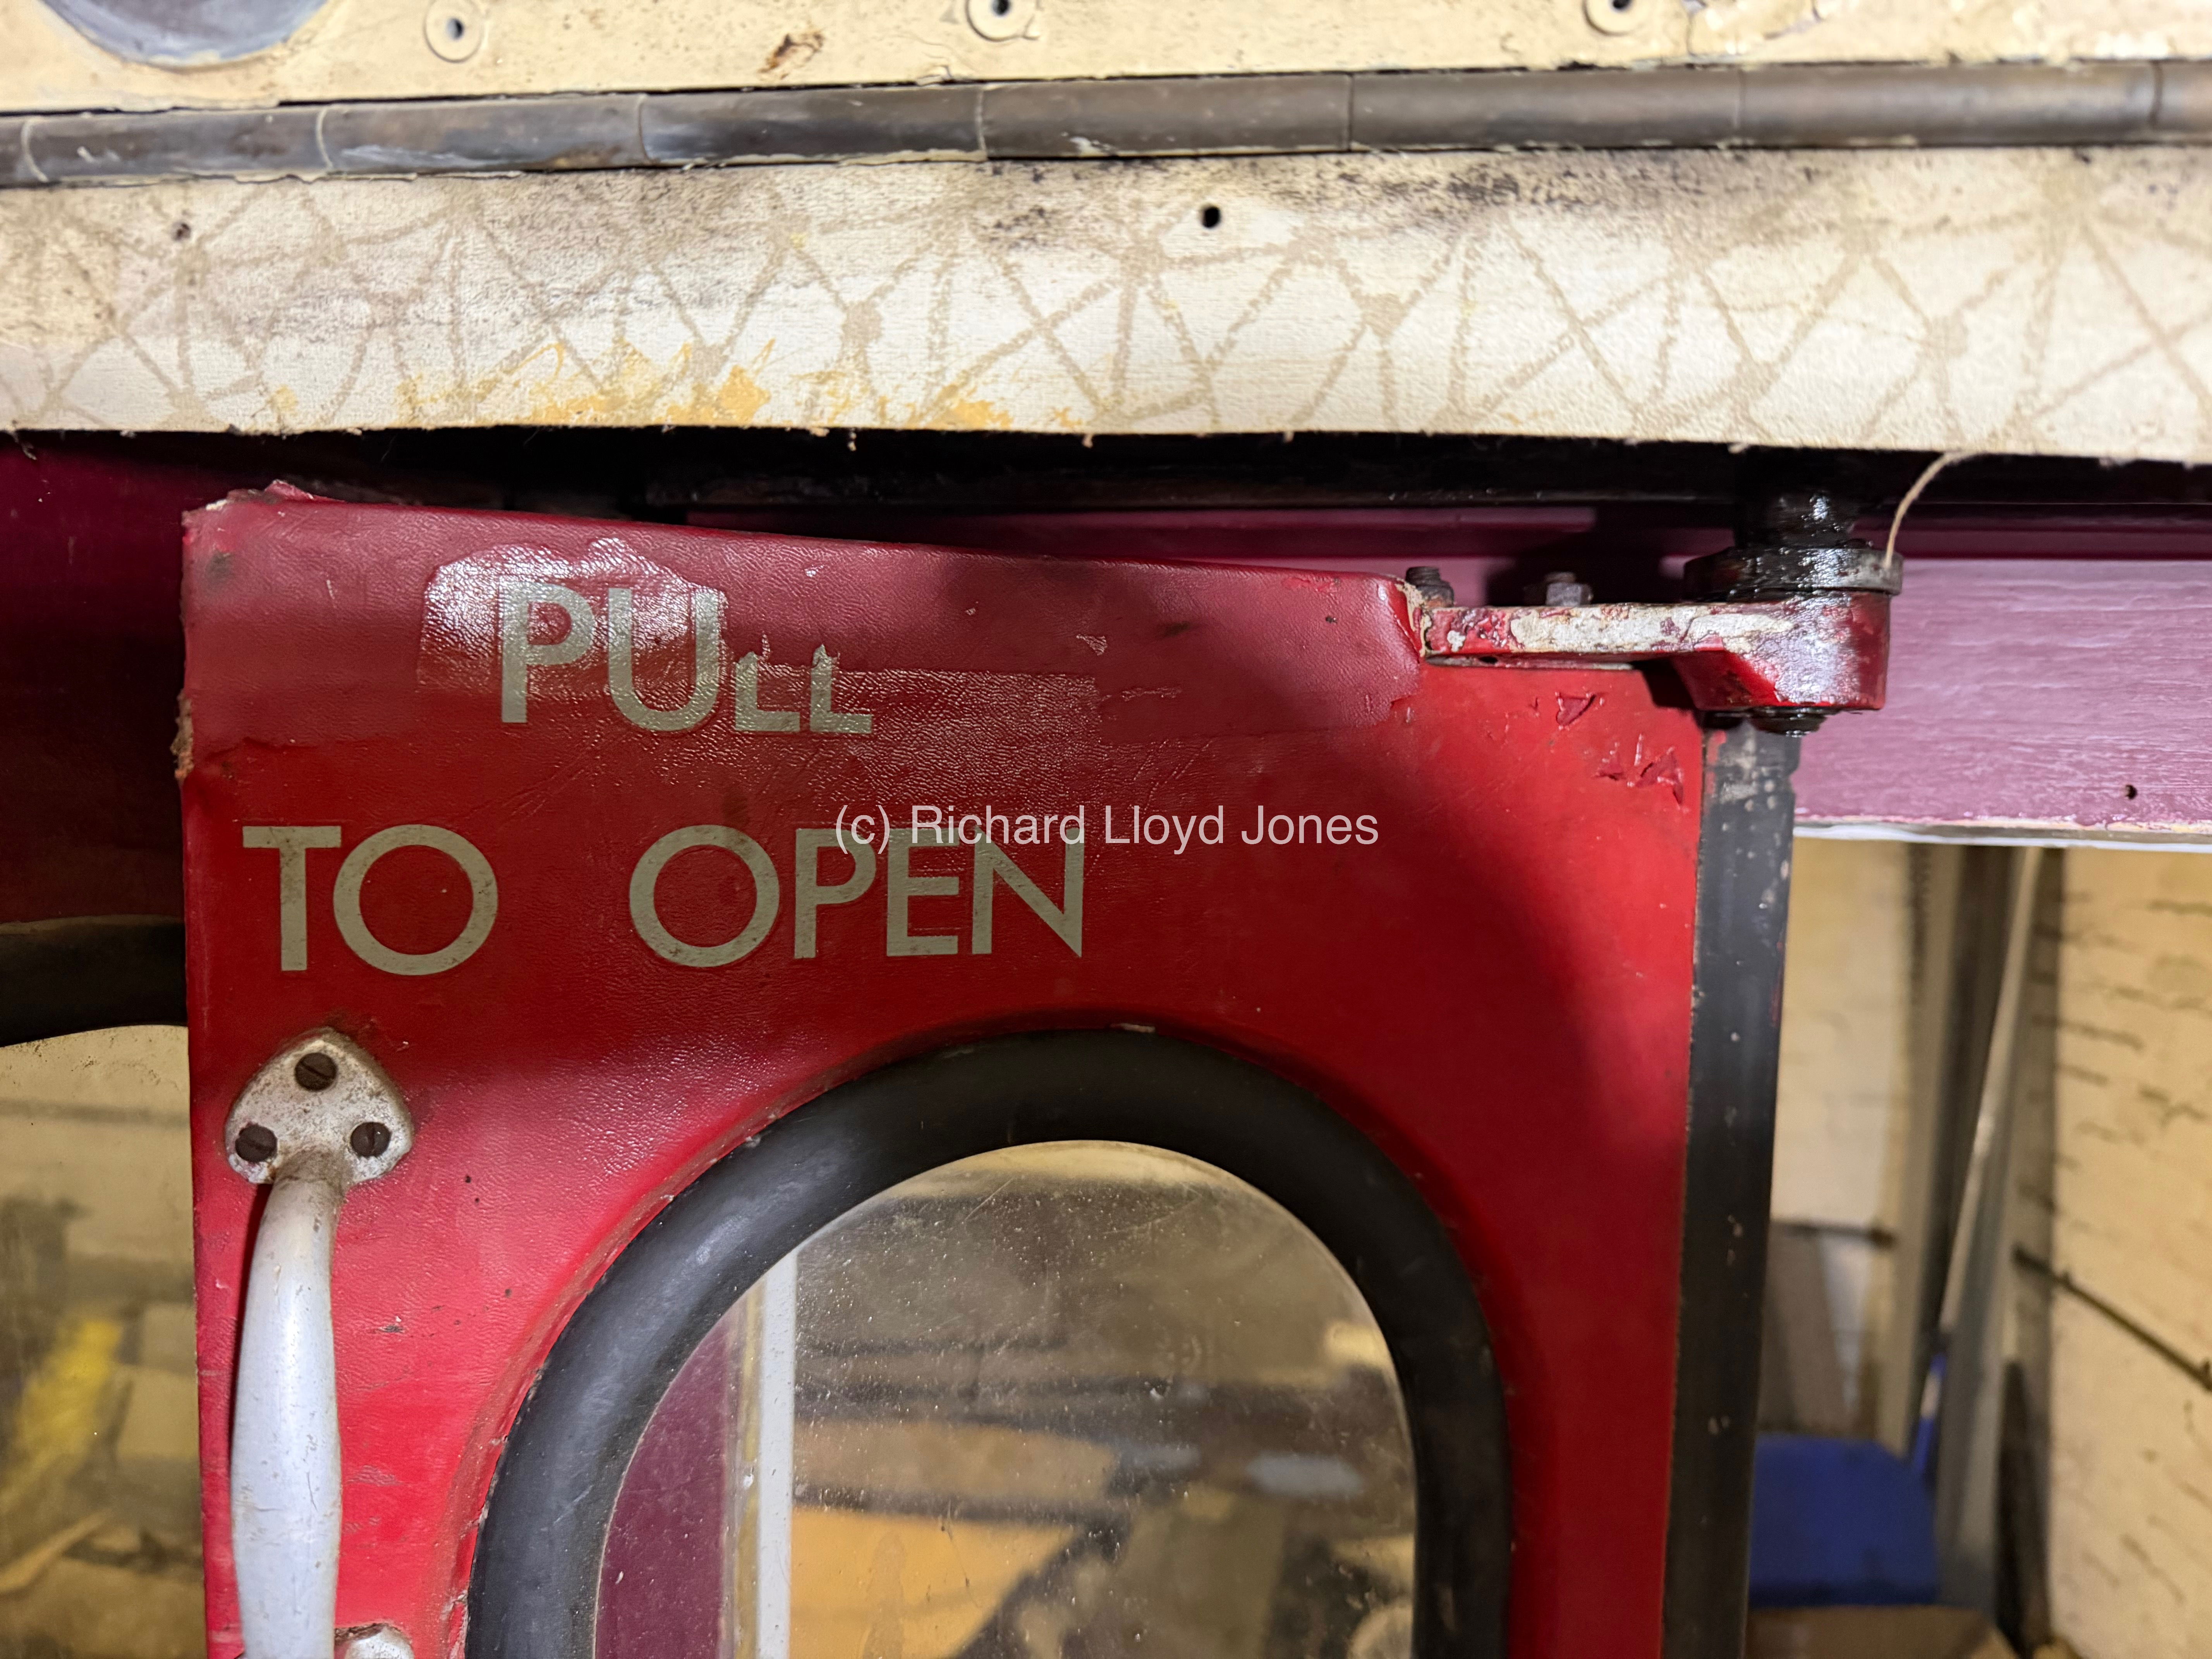 We then add one of the passenger doors into place. At this point neither door is connected to the overhead mechanism that will open the doors once in their final position from the cab button. This provides an opportunity to test out the opening and closing of the doors freely to make sure we have a perfect fit and alignment.
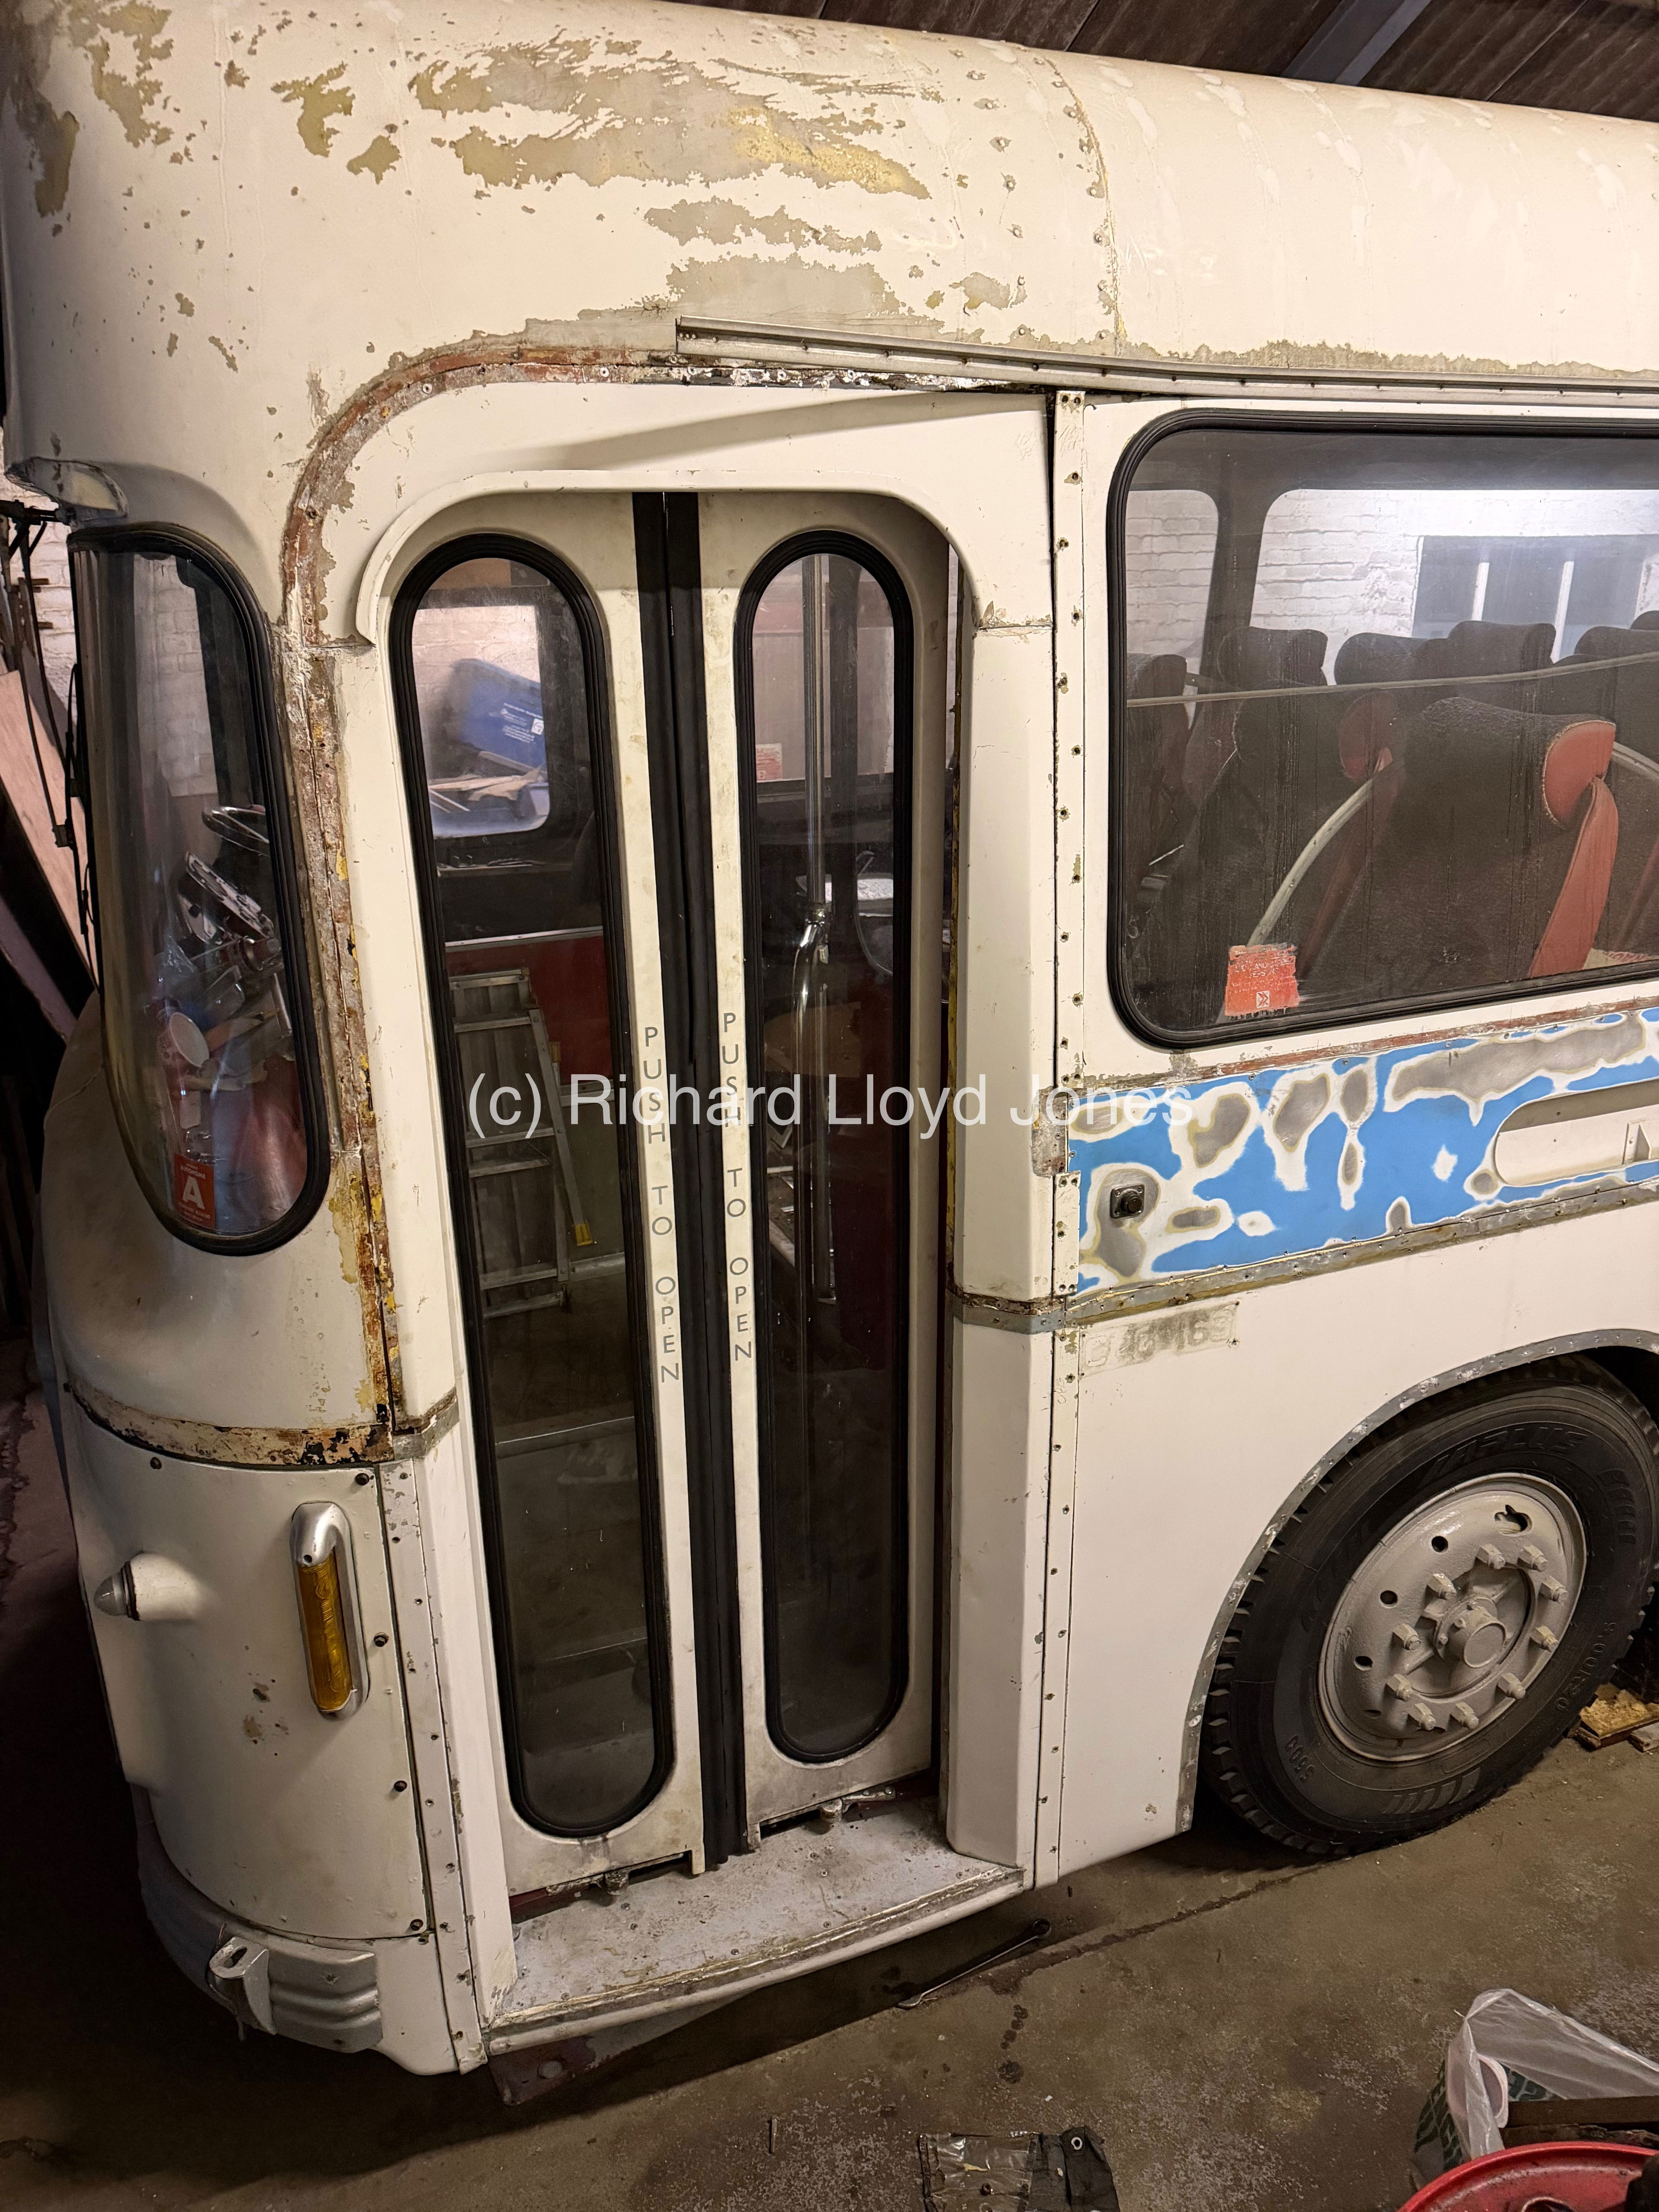 Both passenger doors are tested in place, however one doesn’t seem to fit properly. We therefore remove both door and door poles again, swapping over the door poles and reassembling the doors again to see if this improves things. Unfortunately this does not improve things as the same door still doesn’t quite align.
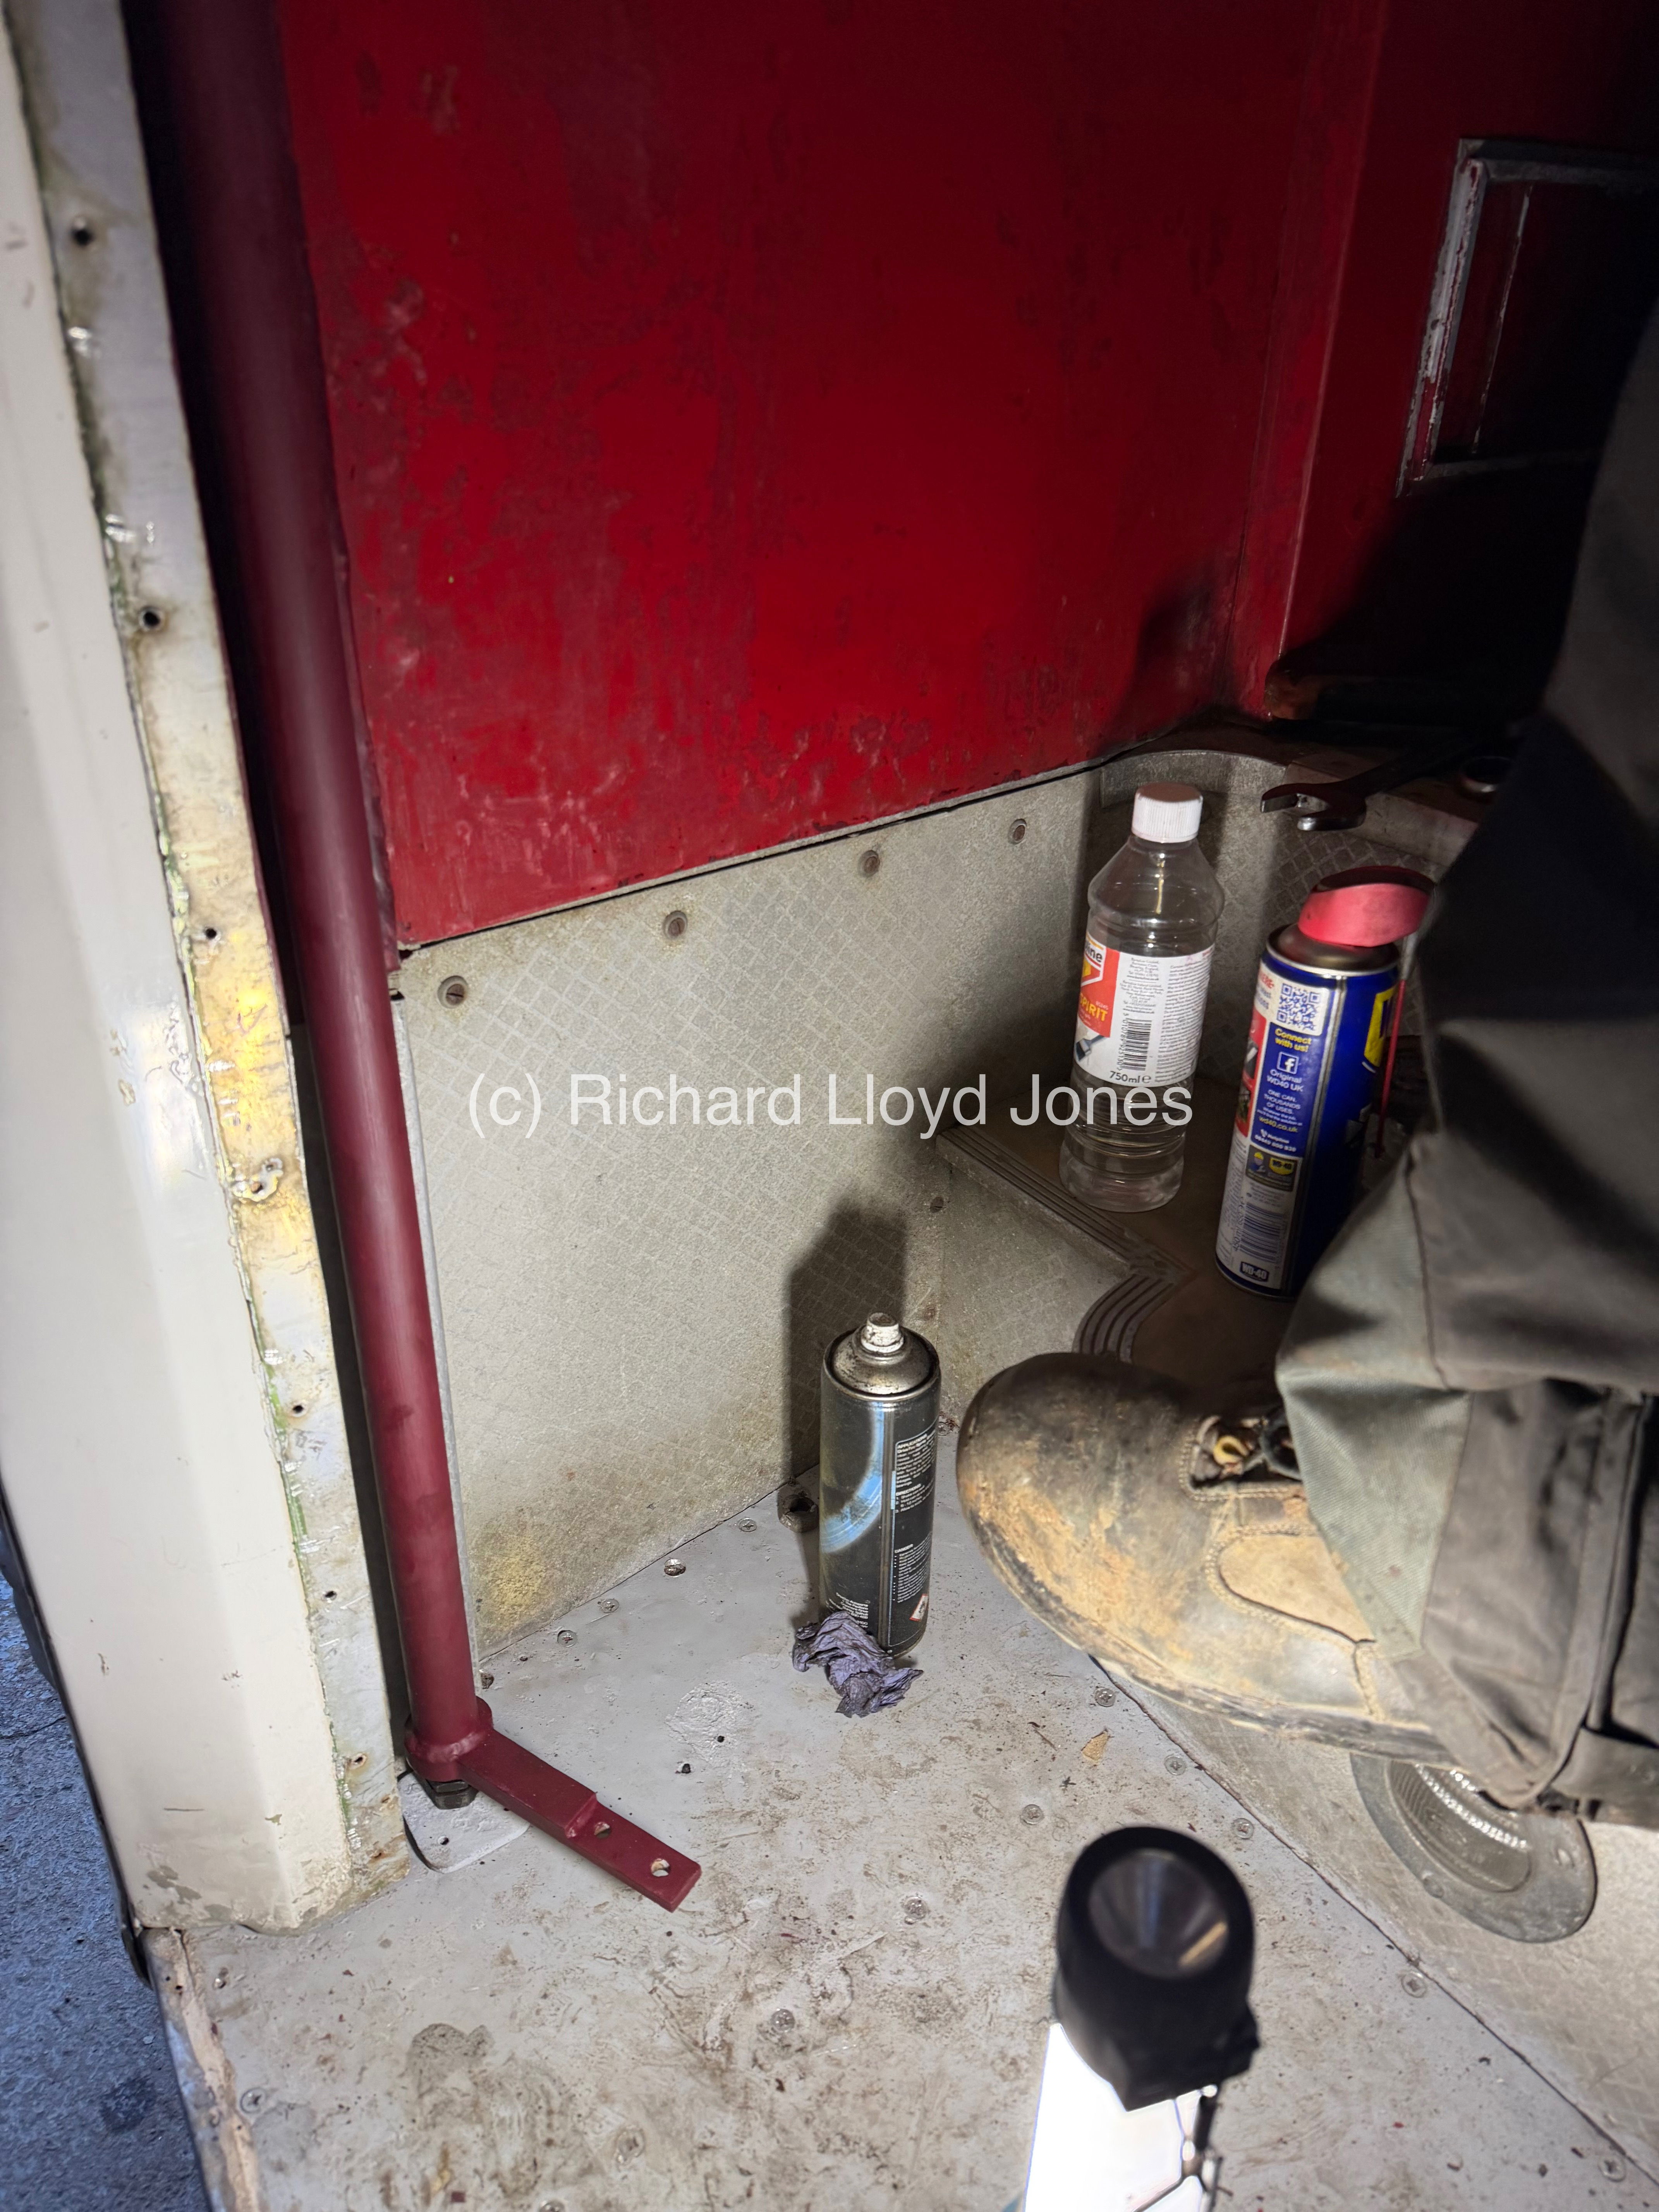
 We again remove the door that doesn’t quite align for a closer inspection to find a chanel and an adjuster mechanism underneath the door closest to the front of the vehicle that doesn’t quite align. allows adjustment so that the door does not stick to its pole. We add WD40 in an attempt to free up the adjustment section. We find that it is jot possible to move the adjuster due to a screw and nut that sits in front of it. This will need to be removed in order to make way for movement of the door adjuster.
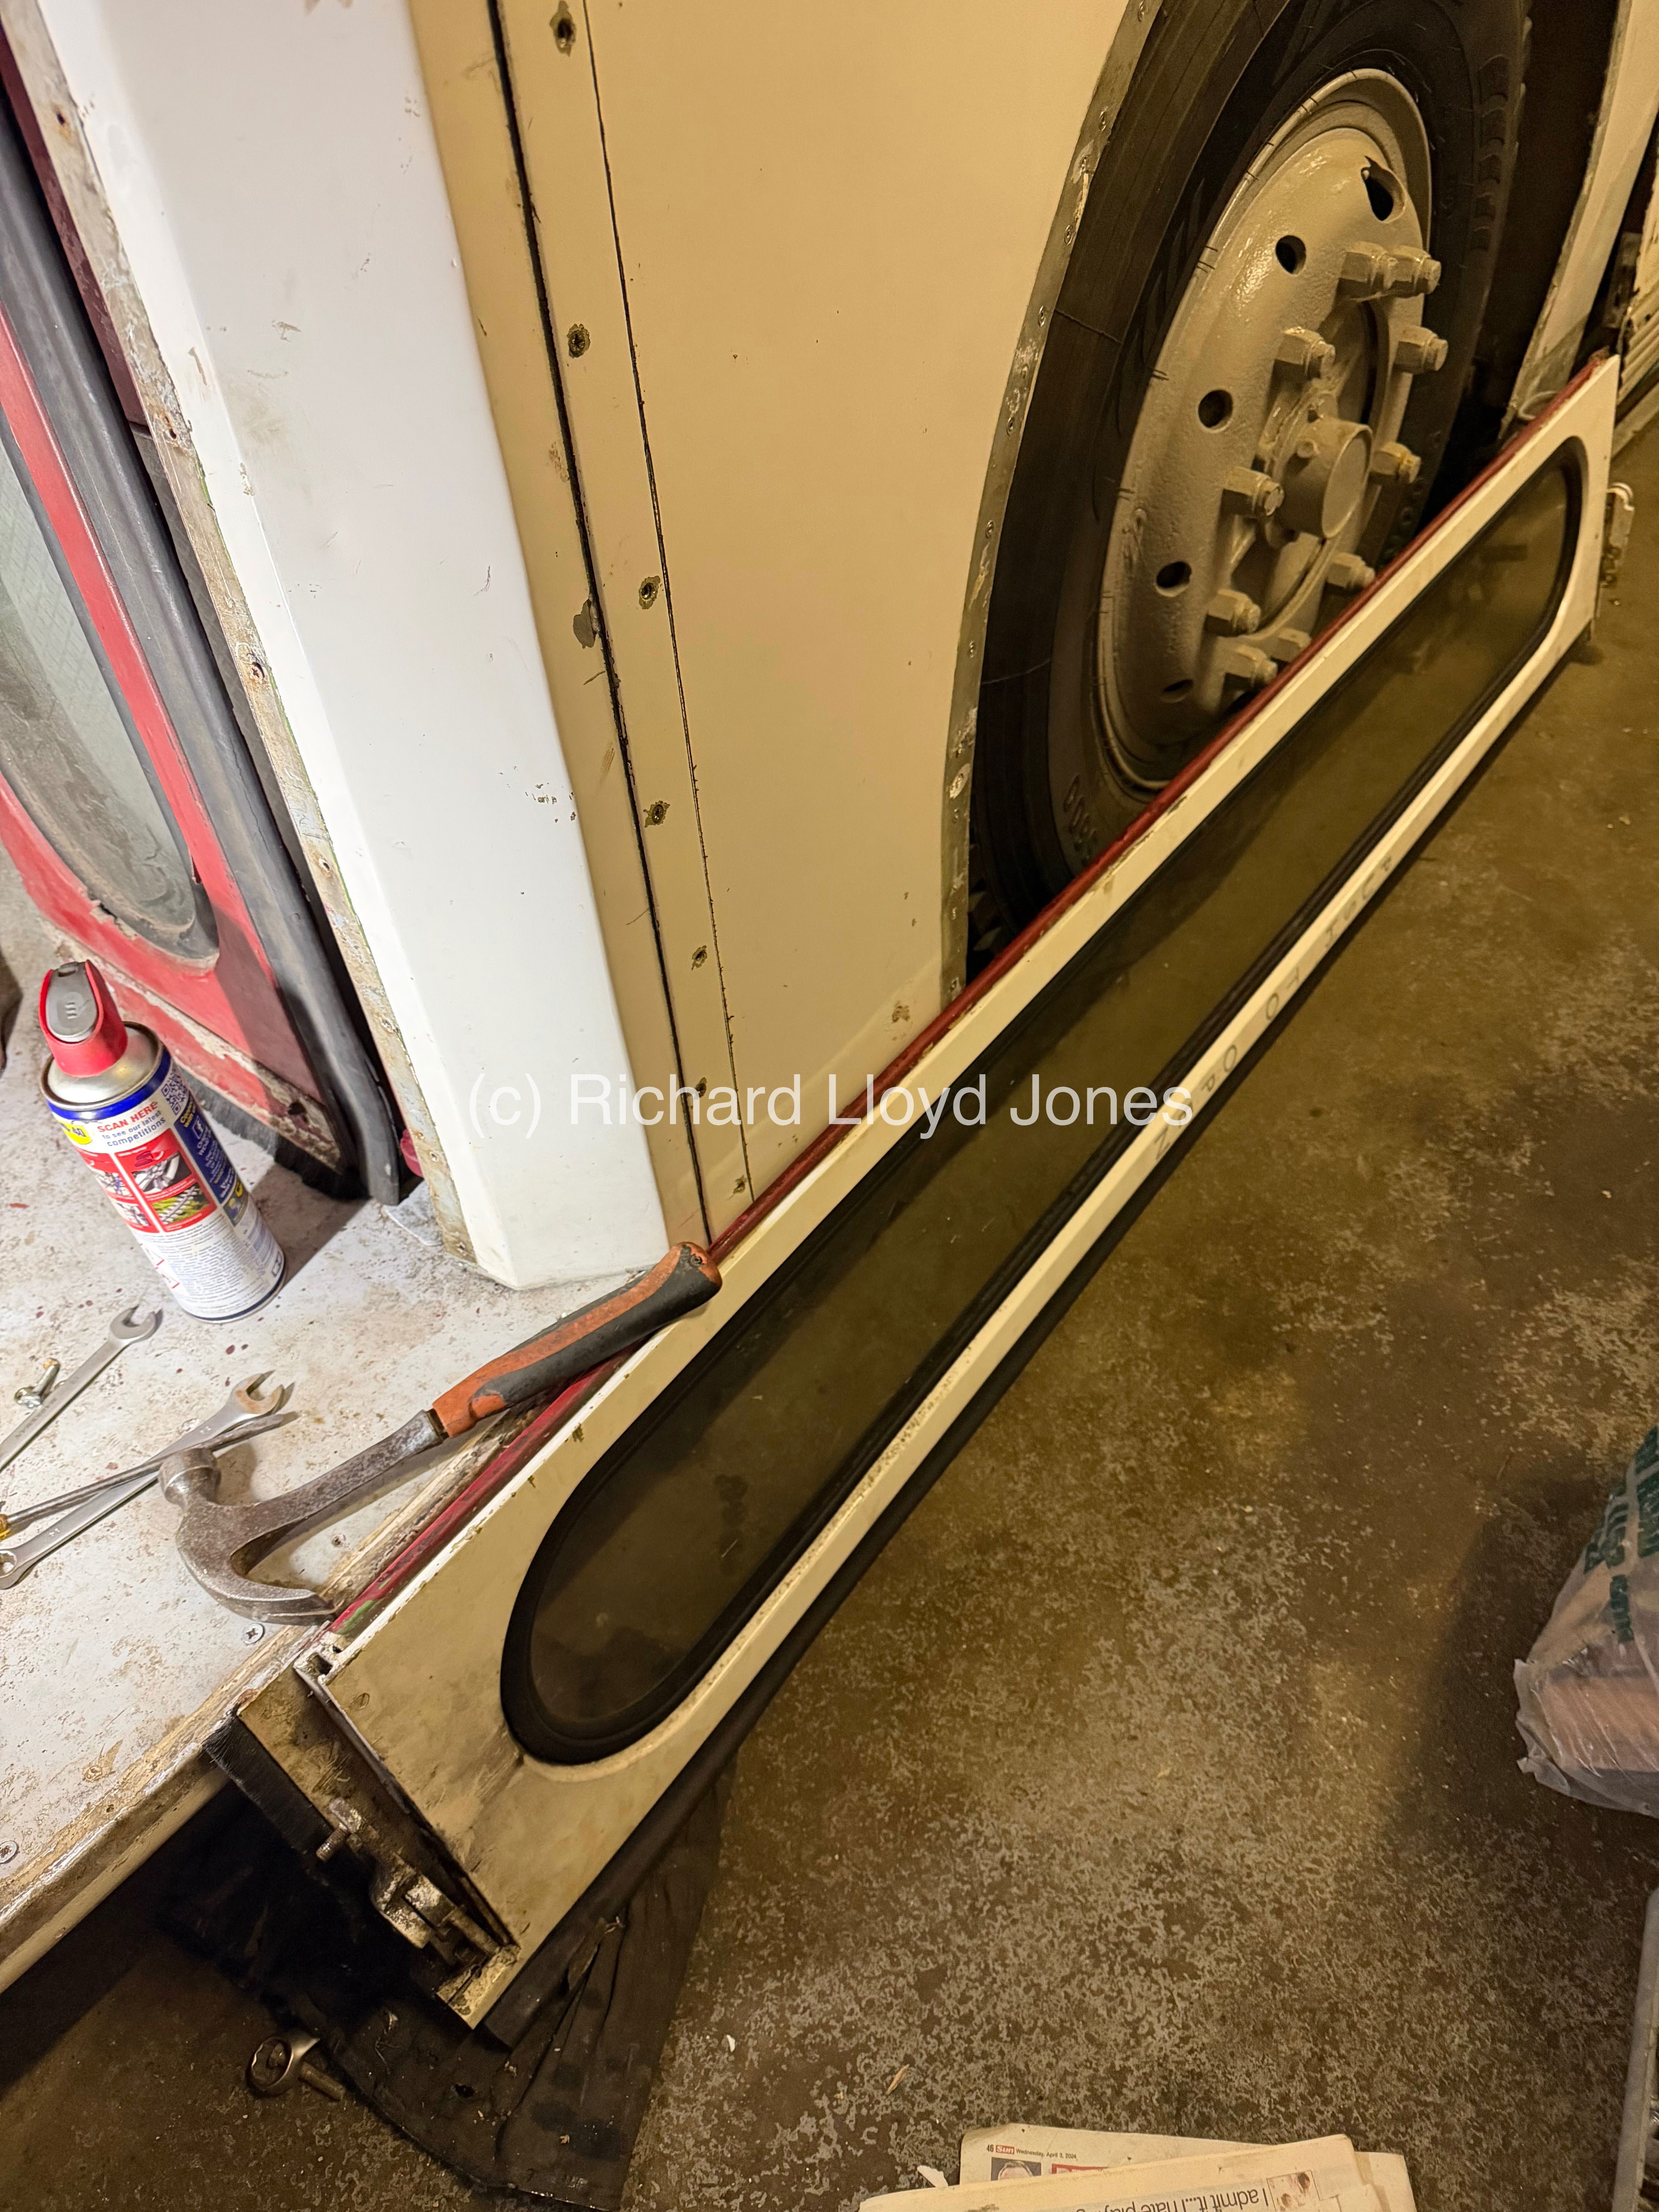 We leave the WD40 to penetrate the screw, nut and door mechanism for the evening to see if this frees the section for adjustment. We must remember that the majority of screws and nuts on CRG163 have not moved in 56 years!
The search continues for other parts.
More details from the web link below. ⤵️⤵️
https://www.crosville.net/can-you-help